TerraClient offers a fast and simple way to get TerraServer black-and-white aerial imagery covering large areas, but with no georeferencing data that lets it be used directly in a GIS. USAPhotoMaps offers a convenient and easy interface for downloading TerraServer topo and aerial imagery of smaller areas, with georeferencing data in worldfile format. But the USAPhotoMaps images are saved in JPEG format resulting in some minor image quality degradation, and the worldfile data doesn’t include information like the coordinate system and datum. For that, you’d want to have the TerraServer imagery saved in a format that embeds georeferencing, coordinate system and datum into the actual file format, like GeoTiffs. MicroDEM offers the ability to download TerraServer imagery and then save it in GeoTiff format. While the process and interface are a bit more convoluted than that for USAPhotoMaps or TerraClient, it’s not too bad.
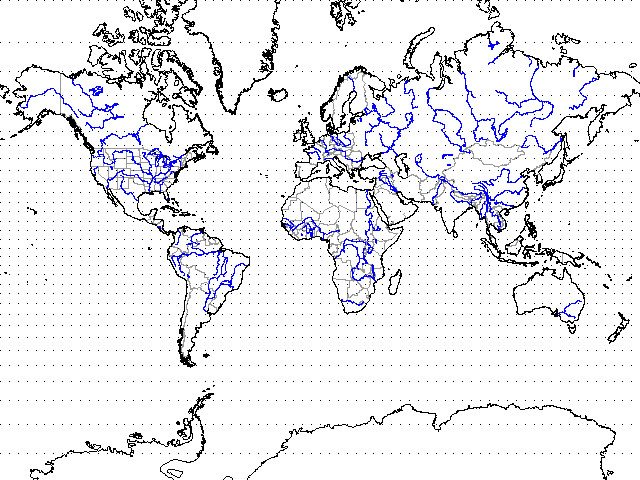
Make sure you have downloaded and copied the most recent executable of MicroDEM from the website into the program folder. If you already have a georeferenced map or image that you want the TerraServer imagery for, open it in MicroDEM. If you don’t have such an image, you’ll need to specify the area you want the imagery for using one of MicroDEM’s built-in world maps. There’s both a raster Blue Marble map, accessible with the button from the toolbar, or a vector map accessible from both the toolbar button and the File => Open menu. Here’s the vector map in the Mercator projection:
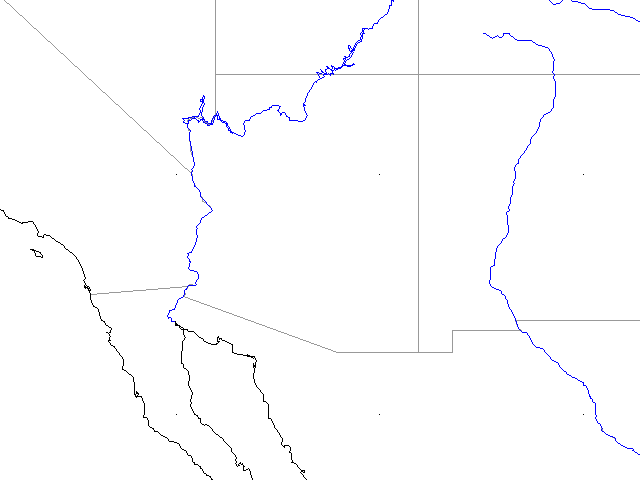
Using the Subset & zoom button on the toolbar:
![]()
select the general area in the US you’d like to get TerraServer imagery for:
Now right-click on the map at the approximate location you want the TerraServer imagery for (use the coordinate display at the bottom to guide you), and choose Load => Terraserver maps. The Terraserver image options window will come up:
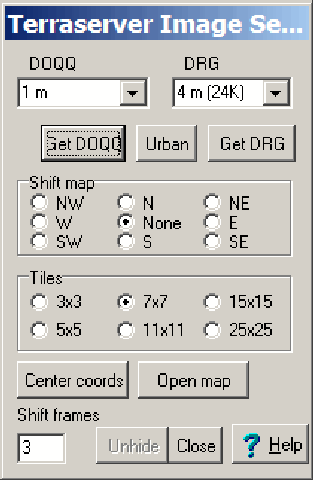
The top dropdown boxes let you set the resolution of the imagery you’ll be downloading for the aerial photos (DOQQ) and topo maps (DRG). The base resolution of black-and-white DOQQs is 1 meter/pixel, but you can choose to have the imagery resampled down to as low as 64 meters/pixel. Color “Urban” imagery, available only for limited areas, has a base resolution of as little as .25 meters per pixel, and MicroDEM will let you download data at these higher resolutions, down to a re-sampled resolution of 64 meters/pixel. Topographic DRG imagery runs from 2 meters/pixel to 256 meters/pixel; 4 meters/pixel or better is downloaded as seamless USGS 1:24K topo maps, while 8 meters/pixel or worse is downloaded as seamless USGS 1:100K topo maps.
Imagery data is downloaded in tiles of 200 pixels per square, and you can set the pixel dimensions of the downloaded imagery in the “Tiles” section, from 3×3 (600 x 600 pixels) to 25×25 (5000 x 5000 pixels). Multiply the number of pixels times the imagery resolution to get the area covered by a tile. In the example above, with the DRG set at 4 meters/pixel, and the tiles set at 7×7, the downloaded imagery will measure 7 x 200 pixels x 4 meters/pixel = 5.6 km on a side, or 31.36 square km.
Once the image resolution and “Tiles” are set the way you want them, click on the buttons below the resolution drop-downs to download a preview of the imagery, DOQQ for black-and-white aerial, Urban for color aerial where available, and DRG for topo maps. A preview of the imagery will open up in a window, and on the original map window, the area covered by the downloaded TerraServer imagery will show up as a red box:
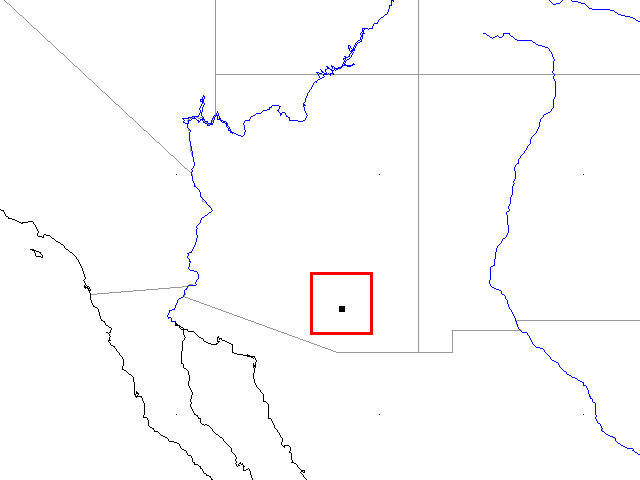
If you’re not happy with the the area covered by that box, you can shift it using one of two methods:
– Click on one of the selectors in the “Shift map” section of the Terraserver image options window. The red box will be shifted on the map by a distance that depends on the number in the “Shift frames” box; higher numbers shift the red box more. At the same time, the imagery in the preview window will also be updated to reflect the new area covered by the box.
– Click on the “Center coords” button, and manually enter the desired center point for the box; it will be shifted on the map, and the imagery in the preview window will be updated.
And you can make the box larger or smaller (more or less area covered by the image) by changing the resolution, the number of tiles, or both.
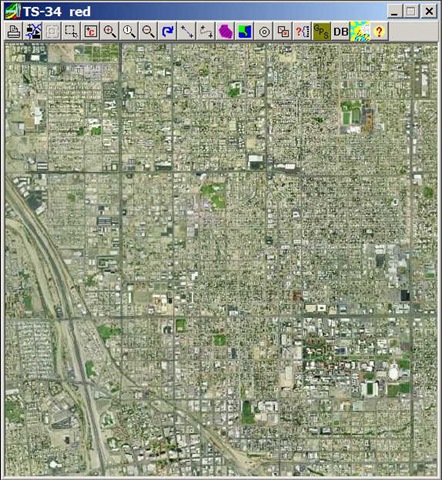
Once you’re happy with the imagery in the preview box (resolution, type, area covered, etc.), click on the “Open map” button. MicroDEM will take the imagery data, mosaic it into a single image, georeference it, and open it in a new georeferenced map window labeled “TS-XX red”, where XX is an integer number. Here’s an example of urban color aerial imagery from the Tucson area:
This is the data you want to save as a GeoTiff image by:
1. Zooming the image to 1:1 resolution with the 1:1 view toolbar button:
![]()
If you don’t do this, MicroDEM will save the image at the current screen resolution, which will probably be lower than the full resolution of the image data.
2. From the File menu, choose Save Map as image => As GEOTIFF, screen scale. This will save the image as a GeoTiff file in full resolution with georeferencing and coordinate data embedded in the file. TerraServer imagery is saved in the UTM projection, WGS84 datum.
Yes, it takes quite a few more steps with MicroDEM than with USAPhotoMaps to download imagery, and a less friendly interface; for that reason, I often use USAPhotoMaps instead of MicroDEM for TerraServer imagery. But getting the data in GeoTiff format is handy, as is the improved image quality. And it’s a convenient way to get the TerraServer imagery for the same area as a georeferenced map or DEM you already have. Plus, there are some additional 3D visualization capabilities in MicroDEM that make the capability to quickly download TerraServer imagery very handy; I’ll be covering those abilities soon.
BTW, the right-click Load menu also includes the option to get a Landsat Thematic Mapper image of an area, but the image only comes up in a preview window, and can’t be georeferenced or saved as a GeoTiff (yet).
Good day
I have itrest for this software for converting DEM to countur. becouse i have eaght years in GIS with
JHIC organazation.
Hamadamin Awla
Senior GIS- Iraq – Erbil