An earlier post described TerraClient, a program that lets you download large-area full-resolution USGS aerial photo imagery from the TerraServer website. That’s more convenient than downloading individual pieces from the USGS Seamless Server and then stitching them together, and has the additional advantage of letting you see the areas you’re selecting for download on-the-fly. But it has the disadvantage of producing images that aren’t “georeferenced”, i.e. they don’t come with the coordinate information needed to import and use them directly into a GIS viewer or editor.
There’s a free program called USAPhotoMaps that can create georeferenced TerraServer imagery for smaller geographic areas than TerraClient, and not just black-and-white aerial photos: it can also export georeferenced seamless color USGS topographic maps and high-resolution (0.15 to .65 meter) color aerial photos from selected urban areas. USAPhotoMaps has a far friendlier and faster interface than the USGS Seamless Server (which also offers this imagery in georeferenced format), and USAPhotoMaps has a bunch of additionalcapabilities that are easy and convenient to use. This post will deal with using TerraServer to view and export TerraServer imagery; its additional capabilities will be covered in future posts.
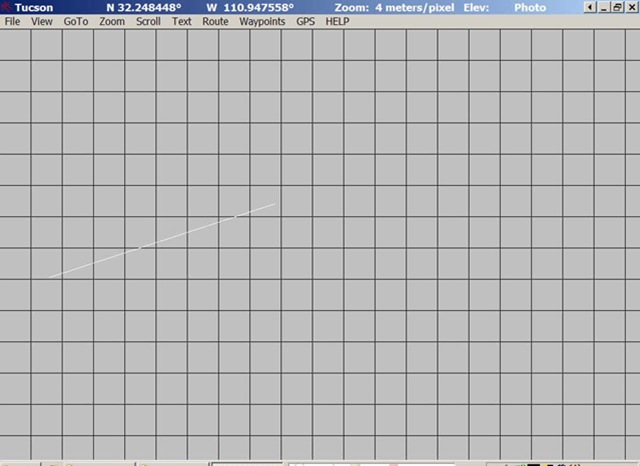
Download USAPhotoMaps from the JDMCox Software website (where you can also download the C source code if you like), and install the program. When you first start it up, you’ll get a blank screen similar to this:
Set the location you want to get TerraServer imagery for with the GoTo menu:
Address – Type in a US address, and it will be geocoded
Populated Place – Gives you a list of states and populated places that you can select from (if the data hasn’t been downloaded yet, USAPhotoMaps will do that automatically)
USGS Landmark – Select a geographic feature from a USGS Gazetteer (downloaded automatically if it isn’t already on your computer)
Lat/Lon – Enter the latitude and longitude automatically
After selecting the desired location, the screen will still look like the one above, blank. You’ll have to choose the kind of imagery you want to display, and then have USAPhotoMaps download it automatically from TerraServer. Choose the imagery type by pressing one of three letter keys:
T – USGS topographic maps. For screen zoom levels of 4-32 meters per pixel, 1:24K USGS topographic map imagery will be displayed; from 64-512 meters per pixel, 1:100K USGS topo maps will be displayed. The map displays will be seamless, i.e. no collars, borders, labels, scales, or other map marginalia.
P – USGS black-and-white aerial photography, aka digital orthoquads.Maximum resolution is 1 meter per pixel.
U – USGS color aerial photography, available for a limited number of urban areas (e.g. San Francisco, Tucson). Maximum resolution is 25 cm (0.25 meter).
Once you’ve selected the type of imagery you want to display, press the “F” key, and USAPhotoMaps will “F“ill the empty squares on screen with the specified type of imagery downloaded from TerraServer. Here’s a 100K topo map (“T”) for the Tucson area:

Black and white aerial imagery (“P“):

And .25-meter color urban imagery (“U“):

You can zoom in and out using the “+” and “-” keys, and scroll the display using the arrow keys. If you download multiple types of imagery for the same area, you can quickly switch the display between those image types just by pressing the appropriate key (P, T, or U). USAPhotoMaps saves the image data in a disk cache of unlimited size, so the next time you use the program, the imagery will be read from your local hard drive for faster display. In a future post, I’ll talk about a way to fill the cache automatically with all the imagery for a specifiable geographic area, so that you won’t have to wait for it to download.
You can create a screenshot, or print the screen, from the File Menu, but those will be captured at the current screen resolution. To grab an image at the best spatial resolution, and have it georeferenced automatically, use the File => Create a BIG jpeg file menu option. Follow the instructions in the window that pops up:
Click and drag to select the area you want to save at high-resolution in georeferenced form. When you release the mouse button, you’ll get an info window:
This gives the name of the jpg image created for the selected area, which will be saved in the same folder as the USAPhotoMaps executable file. Also in that directory will be a world file with the coordinate data for that image, with the same filename but the extension .jgw. Most GIS programs will automatically recognize and load the world file when you open up the JPG file, referencing the coordinates for that image. You may have to specify the UTM projection, the UTM zone, and the datum (NAD83) when you load the image into your GIS software.
The spatial resolution of the image files will depend on the zoom level you’re at when you select the area:
Black and white aerial photos – One-meter per pixel image export for the one-meter to 8-meter per pixel screen zoom levels, then 8-meter per pixel export out to the 64-meter per pixel on-screen zoom.
Color – 0.25 meter per pixel export for 0.25 to 2-meter per screen pixel zoom, then 4 meters per pixel to the 32 meter per screen pixel zoom level.
Topo maps – 4-meter per pixel 24K topos from 4 meter to 32 meter per screen pixel zoom level; then 64-meter per pixel imagery of 100K USGS topos from the 64-meter per pixel on-screen level out to the 512-meter/pixel level.
There will be some slight degradation of spatial resolution due to the imagery being saved in JPG format. This will be most visible on topographic map imagery if you zoom in to a high degree, but for most uses, the image quality for even topo maps will be more than satisfactory, and almost indistinguishable from the originals for black-and-white and color aerial imagery.
One final note: TerraServer data is delivered in the UTM projection, and USAPhotoMaps can’t display imagery from different UTM zones on the same screen, so you may see some odd behavior when viewing imagery adjacent to a UTM zone boundary.