In a previous post, MicroDEM was used to create viewsheds from a DEM (digital elevation model), and plot them on top of either a DEM terrain image or a corresponding map loaded into the program. But it could be useful to export the viewshed data alone, either in raster or shapefile vector format, for use in other GIS programs. More generally, the need might arise to convert a general raster image of an area into a polygon shapefile. You can do this with the Spatial Analyst extension for ArcGIS, but the two together are pretty expensive. There’s a somewhat painless way to do it with free software.
First, here’s a viewshed created in MicroDEM, following the process outlined in the earlier post:
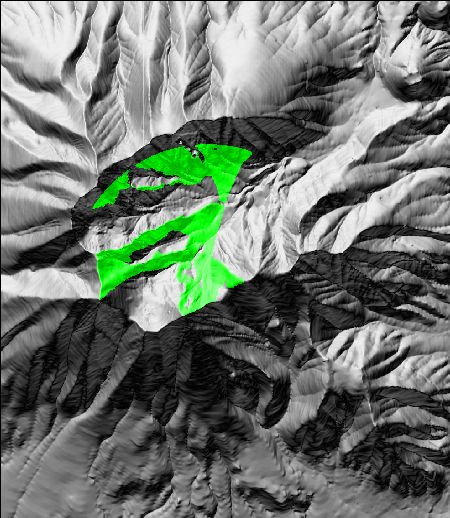
I’ve turned off the symbol for the observer’s location, for reasons that I’ll explain later. If I right-click on the image, select “Display Parameter”, then “Blank”, I get the following image:

The terrain image has been blanked out, but the viewshed is still displayed as an overlay.
If I save the image as is, it will be saved at the screen resolution, which will result in poor resolution (pixelation) at the edges. Zooming in to at least 1:1, or even greater, eliminates that problem (see this post for more info on how to zoom); the viewshed will be redrawn when you zoom in. You can now save it as a GeoTiff with File => Save map as image => As GEOTIFF, screen scale. I can now open the viewshed image by itself in a GIS program. If I have a GIS program that lets me set one color in raster image as transparent, I can set white as the transparent image in the viewshed image, and overlay the viewshed on top of another image, perhaps a topo map:
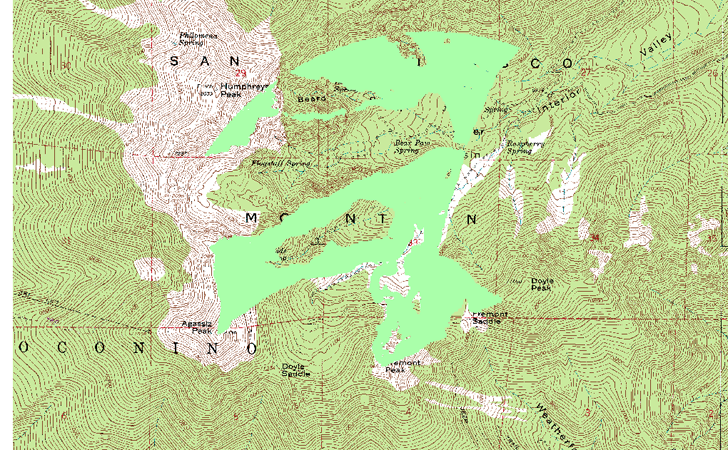
But if the GIS program doesn’t allow raster color transparency, or if I want more flexibility in displaying the viewshed, it would be useful to convert it into a polygon shapefile. That can be done with free software, using a multi-step process. And the same process can be used with any “clean” raster area shapes, i.e. colored shapes against a uniform background, preferably white.
1. In MicroDEM, after zooming in on the viewshed, save it as a GeoTiff as before.
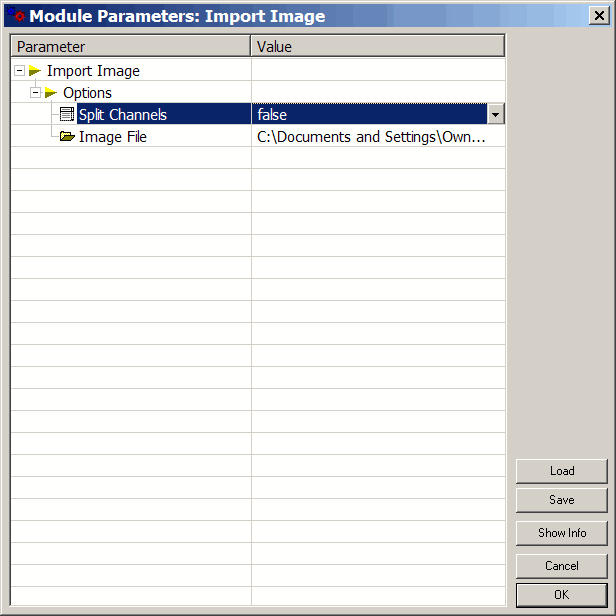
2. Download SAGA 1.2 or SAGA 2.0 from the website, and unzip it into its own folder. Start up the program by double-clicking on “saga_gui.exe”; open the GeoTiff created above (Modules => File => Grid => Import => Image, then select the file by clicking on (null), set Split Channels to “False”, and click OK).
3. Select Modules => Grid => Shapes => Vectorising Grid Classes. Choose the image you’ve just imported (renamed by the program to “Unnamed) as the input grid, and check that “Output as …” is set to the default of “Polygons”.
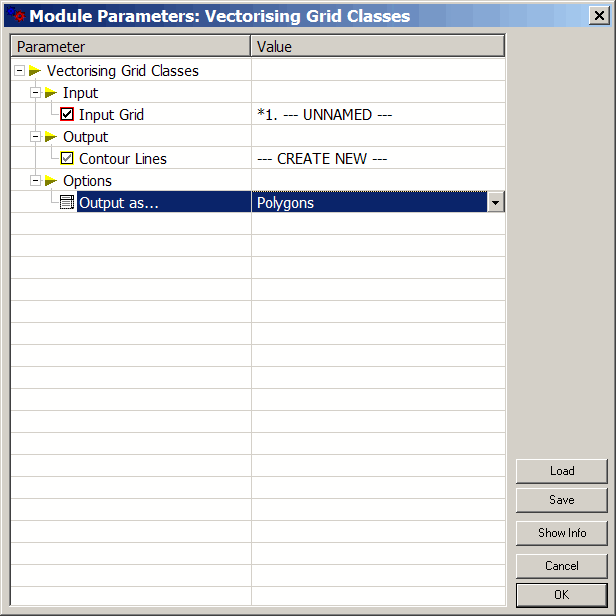
4. Click OK, and be prepared to wait a few minutes for the operation to conclude, even though there’s no visible sign of progress; you’ll hear a sound when it’s done.
5. SAGA will vectorize everything in sight into shapes, including the background and any holes in the GeoTiff. If I had left the observer’s position marker on the original viewshed, it would have vectorized that as well, so that’s why I turned it off. Click on the shapes tab at the bottom left, right-click on the shape layer, and save it as a shapefile. Close SAGA, and don’t save the objects when prompted (click on Cancel).
6. Open the shapefile in a GIS editor that allows you to erase shapefiles with polygons from a different shapefile layer; I’ll use MapWindow 4.4 for this example, since it’s free and has all the tools necessary for the following steps.
7. Delete the background shape, leaving only the fan areas and the hole areas. If your original area didn’t have any holes in any of the polygons, you’re done; in my case, it did, so I have to continue on. For my example, I got this, with holes converted to extra polygon shapes instead of holes:
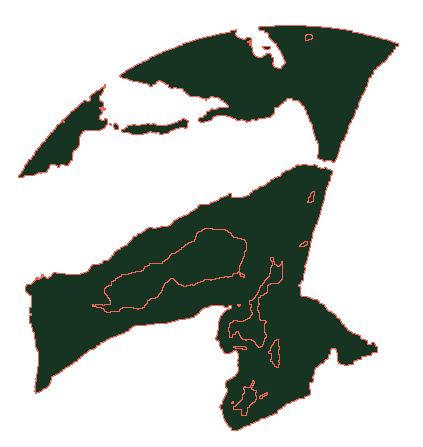
Make and rename a copy of this shapefile (all three files, .shp, .shx and .dbf).
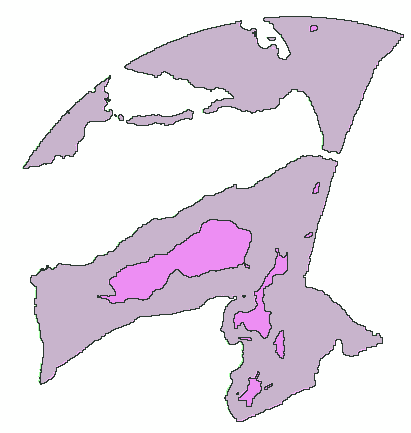
8. Add the copy as a layer in MapWindow, along with the original. In the copy layer, delete all of the areas that correspond to the original weapons fan image, leaving behind only the hole areas. It can be useful to load in the original image as the base layer, uncheck the original shapefile to turn it off, and set the transparency of the copy shapefile to about 50%, so you can keep track of which features are on the original weapons fan, and which ones are holes. I’ve done that in the image below, so that the purple shapes are holes, while the bluish shapes are the original parts of the viewshed that I want to erase.
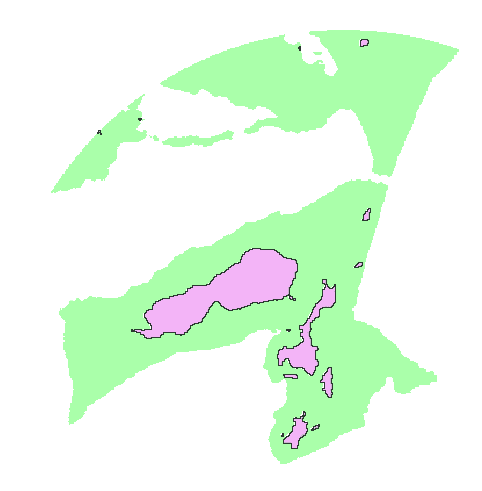
I deleted all the bluish shapes, leaving only the purple ones behind, zooming in on the image as necessary to pick out the appropriate shapes to remove (the green is the original viewshed image):
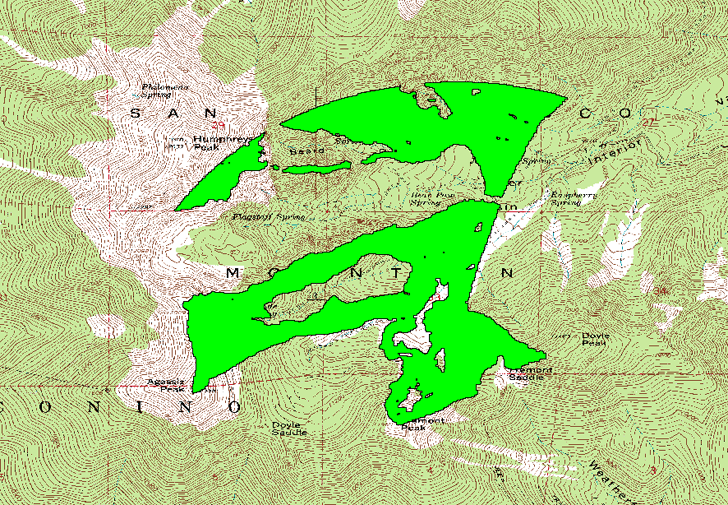
9. Under the GIS Tools menu, select Vector =>; Erase Shape with Polygon. Choose the original layer (from step 7) as the layer to clip, and choose the layer created in step 8 (the holes only layer) as the shapefile to erase with. Click on “Select Shapes”, select all the shapes in the holes only layer, click “Done”, then OK. For more info on this operation in MapWindow, check out this previous post. A new shapefile will be created and saved with all of the holes clipped out of the original, looking just like the original fan bitmap, and which can be laid on top of a raster image like a topo map in any compatible GIS software:
If there are too many vertices or jagged edges in the shapefile you’ve created, you can try running it through MapShaper to simplify it.
Yes, it’s a bit of a pain, but it works. And while I used this on a viewshed fan, the same process can be used on any appropriate raster area shape. In a few months, there may be a better option for converting raster areas to polygon shapefiles, and I’ll post on that when it becomes available.
When I right click on the image, I do not get “Blank” in the list of options. How do you enable this?
In MicroDEM, you have to right-click on the DEM image, then select “Display Parameter”; you’ll see “Blank” as one of the option.s
How do you preserve the location data after using SAGA and Map Window GIS. Im trying to load the ending image into Goolge Earth but now it sticks it someh were near Africa in the ocean when it should be in the US.
I suspect the problem is a coordinates transformation issue, where you may be starting in geographic coordinates (latitude/longitude), but they may be transformed to UTM along the way, then back to latitude/longitude. That would put you in the Atlantic off the African coast.