A bit of a departure from the usual posts, since this service is definitely not free. I just purchased a solid 3D landscape model from LandPrint.com and thought I’d review the creation process and the results, offer my opinion, and give some tips for getting the best results if you order your own.
LandPrint lets you select a square/rectangular section of the Earth’s terrain, and creates a small 3D model of that terrain along with your choice of overlays:
- USGS topo maps (1:24K, 1:100K, and 1:250K scale maps)
- Continents (appears to be Landsat 15-meter data, but I could be wrong); this is the only overlay imagery for most of the planet
- California hi-res (appears to be about 1-2 meters)
- US cities, which looks like the high-res USGS color photo data available for some US urban areas like Tucson. The original imagery is 0.25-meter resolution, and it looks like it’s close to that in the LandPrint viewer.
When it first came out about a year ago, the website indicated that the ability to use your own imagery was planned, but that still hasn’t happened yet. It also got some attention last year as the first commercial venture to use the new Java-based WorldWind. This opens up in the LandPrint Designer, a platform-agnostic Java program:
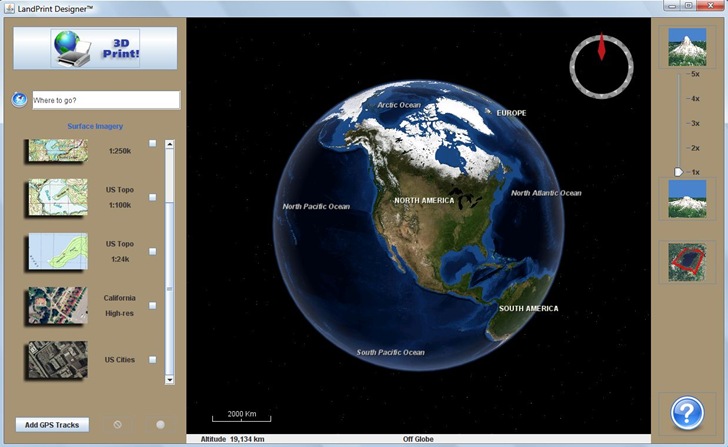
You can go to a specific area by typing it into the search box at left, or by selecting/moving to it in the display window. There are both mouse and keyboard controls for map navigation.
Mouse
- Left-click and drag in the map display to move it around; click once to center that point in the display
- Right-click to tilt the display to view terrain obliquely, or rotate to a different view angle
- Zooming in can supposedly be done with the mouse wheel, but I found it slow and often unresponsive. But the mouse wheel button works better: click and drag up to zoom in, click and drag up to zoom out. Sometimes it won’t let you zoom in; when that happens, zoom out a bit, then try zooming in.
Keyboard (also useful for Mac owners, who thanks to Steve Jobs often don’t have a mouse wheel or even right mouse button)
- Arrow keys move the map display
- Ctrl plus the up/down arrow keys zooms in/out (probably the command key for the Mac)
- Shift plus up/down arrow keys tilts the display for an oblique view; shift plus left/right rotates the display
- Tip: Bonus undocumented keyboard command, a really useful one: “R” restores the view to looking directly downward, with North facing up.
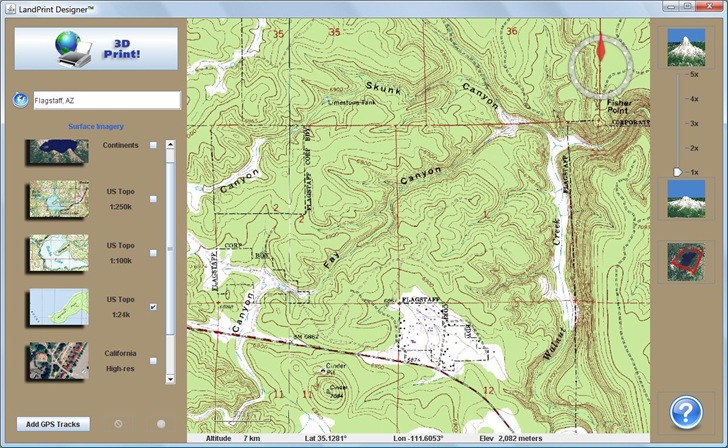
Zooming in to the area I’m interested, and selecting 1:24K US topo maps for the overlay:
Right-clicking and dragging to tilt the display for an oblique 3D view:
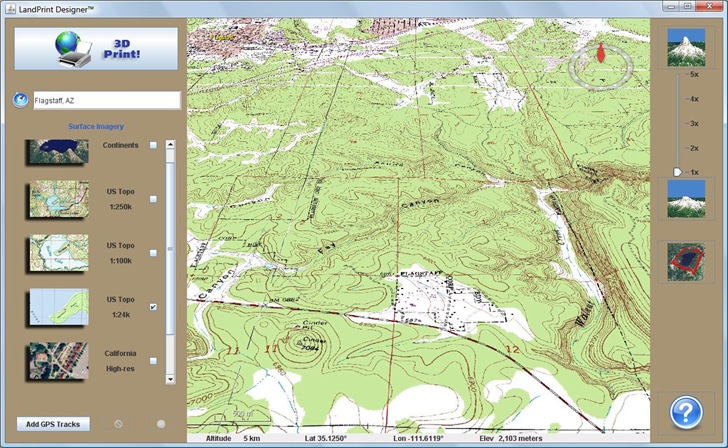
The terrain exaggeration (the slider at upper right) is set to 1x, or no exaggeration. But with that setting, the terrain relief is a bit too subtle in much of the area of interest. By setting the terrain exaggeration to 3.5:
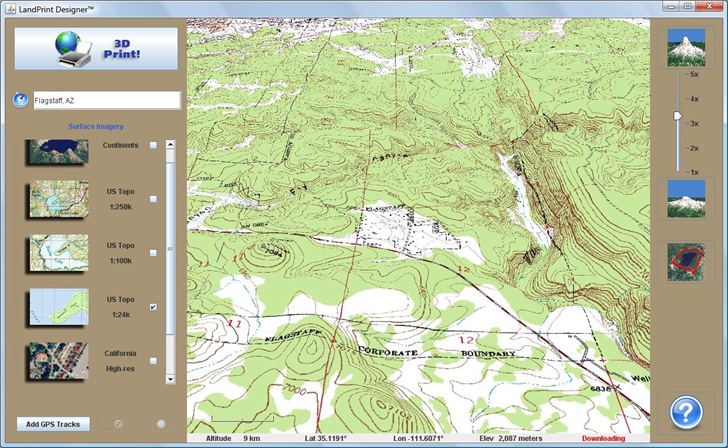
Terrain relief is easier to see.
Tip: You need to play around with this setting for the best results; while 3.5 gave me good results for this terrain, in other area terrain relief can be greater, so that a lower exaggeration may give better results.
Once happy with the exaggeration setting, I restored the view to looking top down, clicked on the button at right with the red square on terrain, then clicked and dragged on the image to select the desired rectangular area:
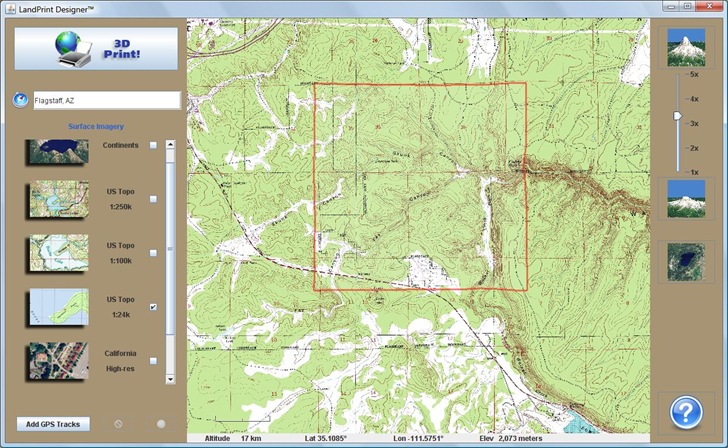
Tip: The final product is scaled to the longest dimension of the selected area. So if you select an area whose E/W dimension is twice that of the N/S dimension, and select the 6” product, your terrain model will be 6” wide by 3” high, not the 6” x 6” you could be getting (and which you’re paying for). To maximize the amount of terrain in the model, select as close to a square area as you can. You can adjust the boundaries of the selected area by moving the mouse cursor to the selection boundary, where it will change shape to a double arrow; click and drag to move the selection boundary to where you want it.
You can also add GPS tracks by clicking on the button at lower left, but I didn’t try this.
When you’re happy with the selected area, click on the “3D Print” button at upper left to generate a preview of the selected terrain:

Click and drag on the image to tilt and rotate it; if you’re happy with it, click on the Buy Now! button to be taken to the purchasing page.
There are three size options:
- 5” x 5” – $37.95
- 6” x 6” – $49.95
- 8” x 8” – $69.95
- The FAQ says they’ll do custom sizes, but you have to contact them for pricing.
Plus shipping, $7.95 to the US 48, $15.95 to AK and HI. They say models are 1-2” high, mine was about 1.25” at the highest point.
Tip: I bought the 6” x 6”, but now wish I’d bought the 8” x 8”. For a 40% higher price, you get about 75% more area.
A little bit more than a week later, I received my terrain model in the mail:
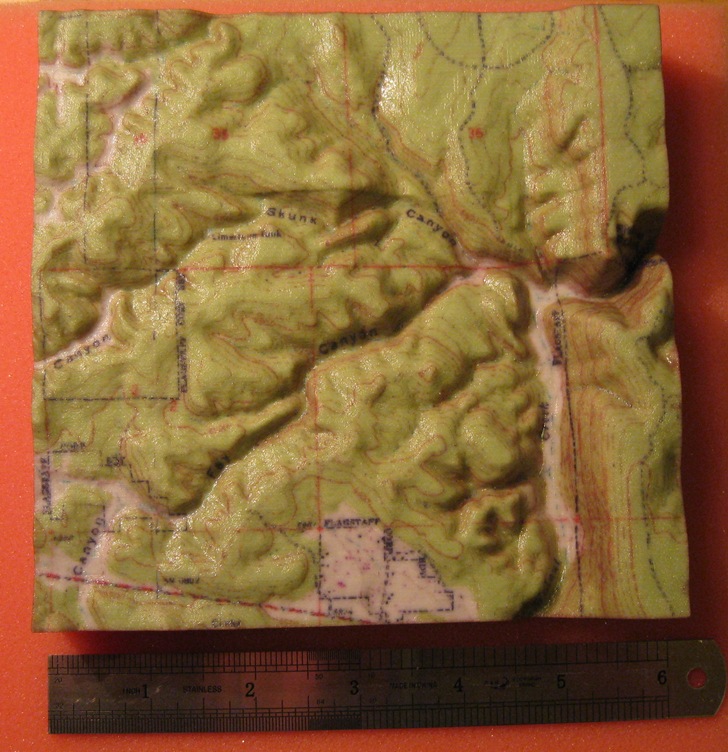
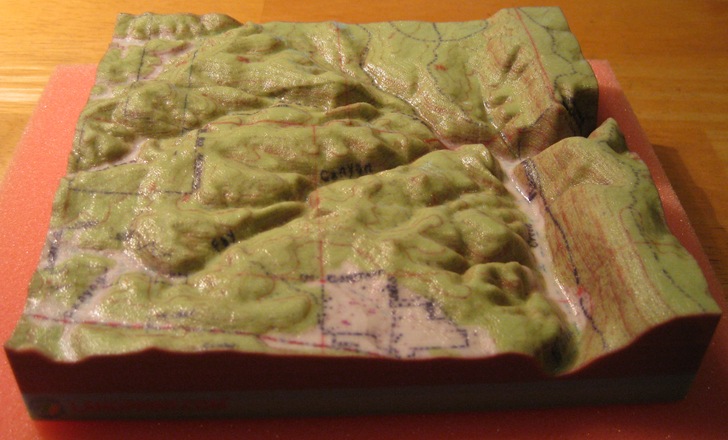
I was concerned about whether the fabrication process would result in terrain aliasing, or “stair-stepping”. It did, but it’s really only visible if the light angle is just right:
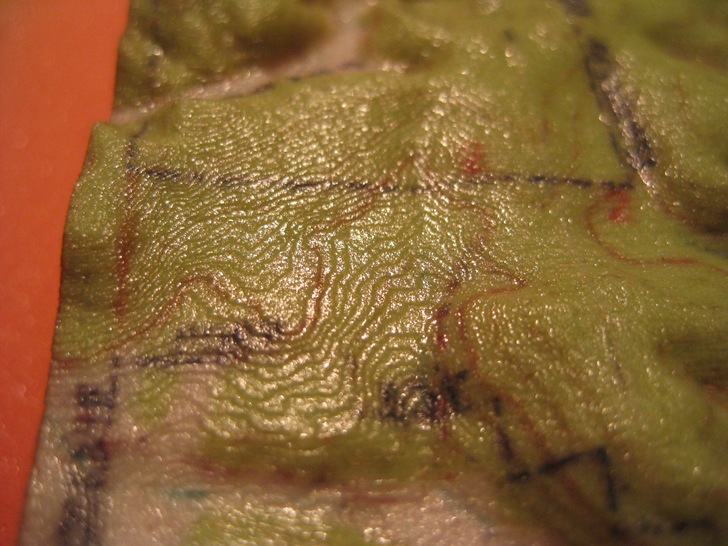
Under normal viewing conditions, the aliasing is virtually unnoticeable.
I selected the area so that the model would come out with about the same scale as the printed topo map of the region. Using that setting, though, some of the printed detail was a bit blurry, and the minor contour lines were very faint in some spots:
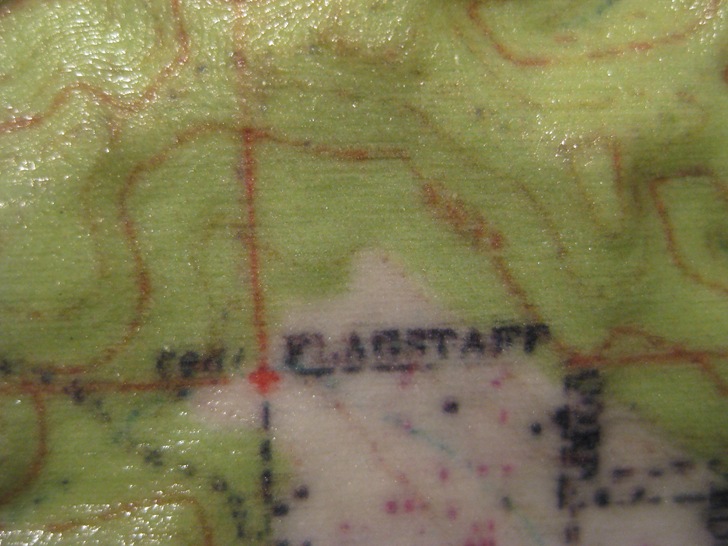
I’m sure this is a limitation of the fabrication/printing process. So …
Tip: Select an area so that its final fabricated size is larger than the scale size of the original imagery – that will hopefully improve the visibility of the printed details.
The model itself feels solid in your hands; the underside is hollowed out to follow the terrain so that it’s light as well, about one-half-pound for my model. The FAQ cautions against dropping the model since it can break, but I wouldn’t call it flimsy or fragile by any means. The FAQ also cautions that exposure to direct sunlight can cause fading, which is disappointing; for this price, I would have expected fade-resistant pigment inks to be used.
Overall, I’m quite pleased with the model as-is; if I had ordered the 8” size, and selected an area smaller than the scale size, I suspect I would have been fully satisfied.
Full disclosure: I ordered the model without disclosing my blog, and paid full price for it.
Thanks for the review.
I’ve never seen such models before, so it’s interesting to see your pics. In the first photo the model looks like something that you can eat ;) How does it feel to touch it?
I was impressed by the stability and speed of the java world
Saludos.ar
Nice work. Somehow it looks like real skin… is ths service available worldwide?
As of now, you can’t get these shipped outside the US directly.