A DEM (digital elevation model) essentially consists of a grid of data, where every square in the grid corresponds to a geographic location, and the value at that position in the grid is the elevation above sea level. But those are just numbers, which are hard to visualize.
3DEM is a free program that opens DEM data and lets you visualize and use it in a number of different ways. It comes with a first-rate PDF manual, available from the Help menu. Today’s post deals with just the basics; upcoming posts will cover some of the interesting ways you can use the data to visualize topography and geography.
3DEM will also accept DEM formats, like USGS DEMs (ASCII and SDTS), .hgt, .bil, LIDAR .las, even data from Mars MOLA (.img). It will also let you select and download lower-resolution DEM data from the GLOBE and GTOPO 30 (1 km resolution) online databases. I prefer sticking with the GeoTiff DEM format, since that seems to be one of the more commonly-compatible formats. 3DEM can open multiple DEM files of the same format, merge them together, and let you save them in merged form in either USGS ASCII format or GeoTiff format (from the File menu).
If you’ve downloaded a GeoTiff DEM from the USGS Seamless Server, open it in 3DEM:
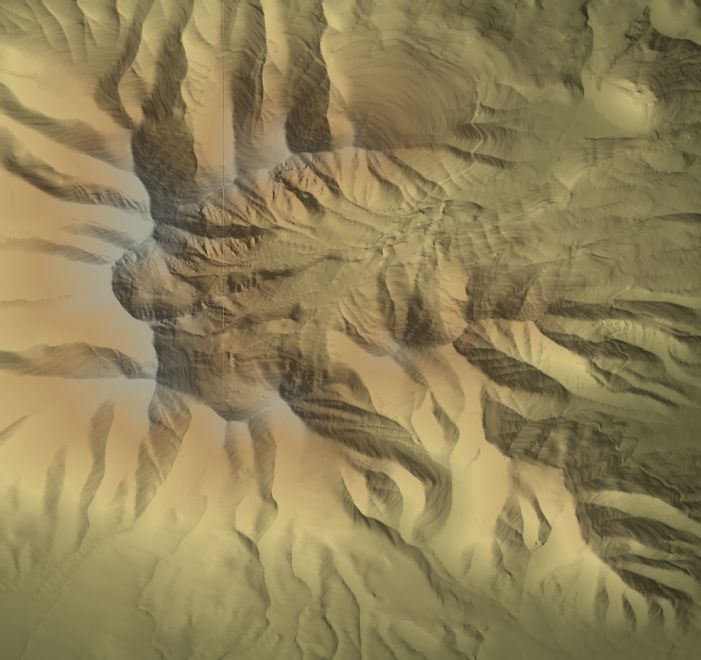
3DEM takes the gridded elevation data, and does three things with it:
- Creates a virtual terrain surface
- Lights the virtual terrain surface from an angle to create shadows and relief
- Colors the terrain surface depending on the elevation
In this top-down view, you can’t adjust the first parameter, the actual terrain surface itself. But you can adjust the other two. To change the lighting angle, choose Color Scale => Shaded Relief to get the Lighting Parameters:
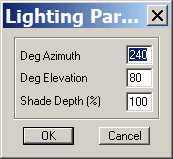
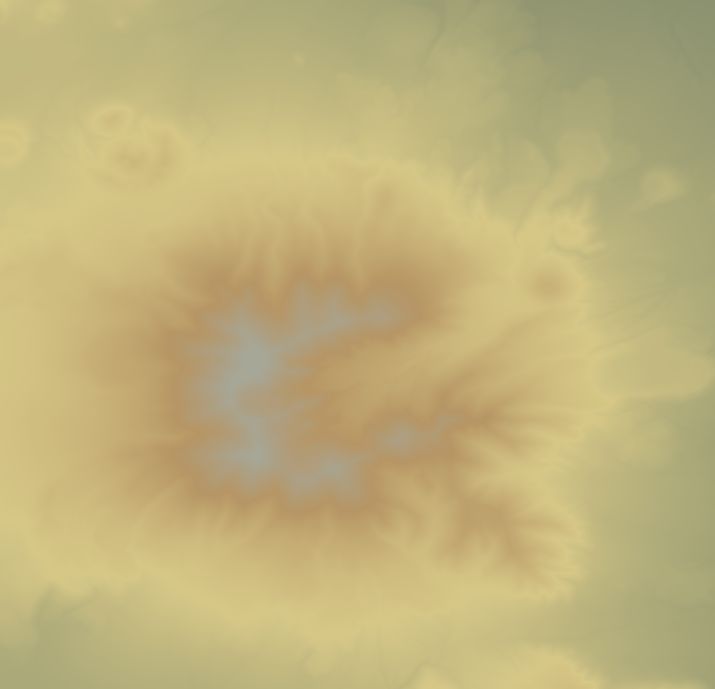
Change the azimuth in degrees (0-359, 90 is east) to change the lighting compass direction; change the elevation (0-90) to set the height of the lighting. “Shade Depth” sets the intensity of the shadows; if you set that to 0, you’ll only see the terrain colors, no relief:
To change the terrain colors, choose Color Scale => Modify Scale from the menu:
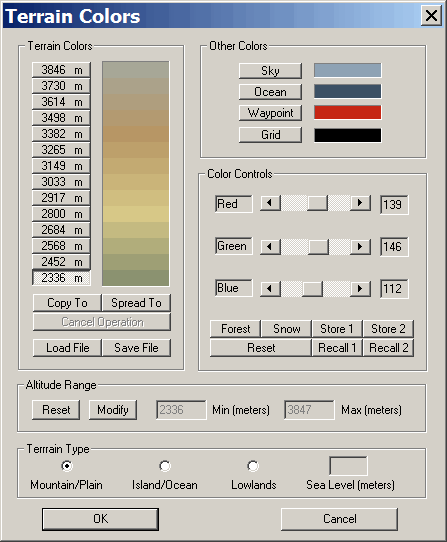
Here you can modify the individual colors that correspond to a particular elevation, use presets, and save those settings for future use. 3DEM will smoothly grade the colors from one elevation to another so that you don’t have “aliasing” effects, i.e. striping in the image. The manual has full details on how to set colors, and how to get them to “spread” or grade automatically over a set of elevations. For the example above, I modified the highest elevation to the “Snow” preset, spread the colors immediately below that top elevation to change gradually to the snow color, and got the enhanced terrain image below:
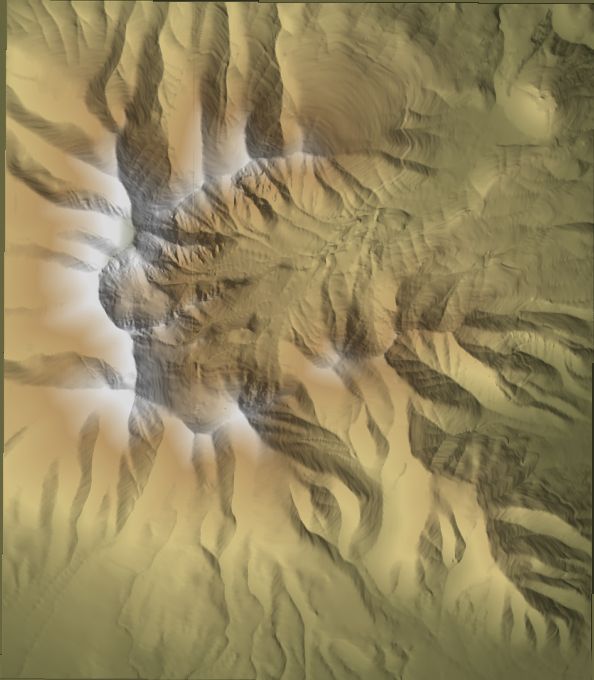
Terrain relief images like this can make an excellent background for your maps and other GIS data. The map image can be exported as a simple image in a variety of formats (bmp, jpg, pcx, etc.), or as a georeferenced GeoTiff image for use in other GIS and mapmaking programs. But it will save the image at the current screen resolution; to save it in a higher resolution, go to Operation => Resize Overhead View (F6):
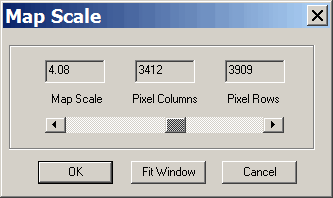
and increase the map scale to increase the image size.
Finally, if you right-click on any area on the map, keep the button depressed and move the mouse across the terrain, you will draw a straight line from the original point to the current cursor position. When you release the mouse button, 3DEM will draw a graph of the terrain profile across that line that you can save or print:
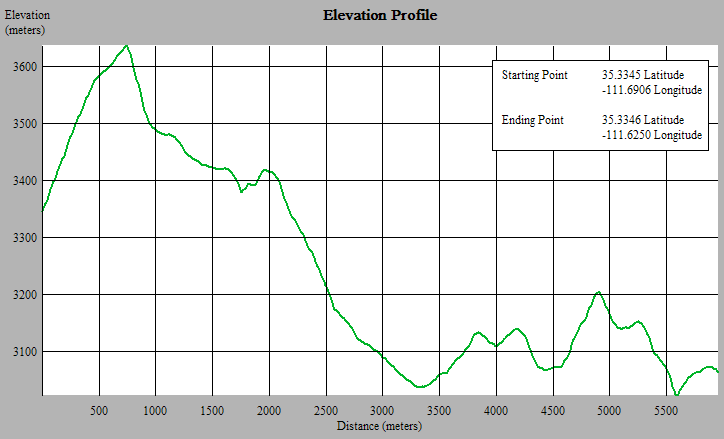
You can also create an arbitrarily-shaped path using the GPS => Enter GPS Points By Mouse command; 3DEM will connect lines between successive points to create a new track. By next selecting GPS => Profile GPS Track, you can then create an elevation profile for that arbitrarily-shaped track, rather than just the straight line elevation profile described above.
I’ve been using 3DEM for a while and I must say it’s a great tool. It’s very simple yet very powerful, and the video output it’s not bad at all.
Oh and btw, I love your blog, it has helped me a lot. Congratulations and keep it up :)
I’m looking for a tool that will assist in the production of 3d terrain models from GPS elevation and track data.
Ideally I would be able to walk over the land and generate continuous track data that could then be used to build a 3d mesh with the ability to refine it over time, fill in areas with higher detail….
What is the best tool (in your opinion) for achieving something like this? Much appreciated.
Olmec
[email(a)olmec.co.nz]
When I try to resize, why would I be limited to a zoom level of 2? I see in your screenshot you can go higher, what gives?
I think older version might have let you zoom in 3DEM to more than 2.0. But you can use the “Select Smaller Area” option to zoom in to full resolution on a smaller area.