The Relief Shading website defines “shaded relief” as “a method for representing topography on maps in a natural, aesthetic, and intuitive manner”. A review of the many resources on that site, and on Tom Patterson’s excellent Shaded Relief website, will convince you quickly that getting the best possible results requires a great deal of knowledge, expertise and time. But you can get fairly satisfactory relief shading of your maps quickly and easily using 3DEM.
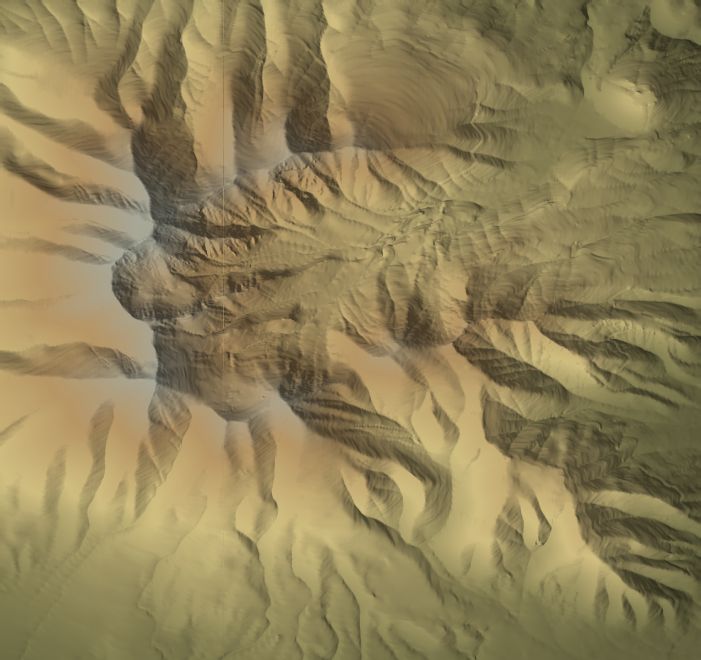
Start by opening a digital elevation model (DEM) in 3DEM; I’ll use the same one I’ve shown in a previous post:
At the same time I downloaded the DEM from the USGS Seamless Server, I also downloaded the USGS 24K topographic map that covers the same area:
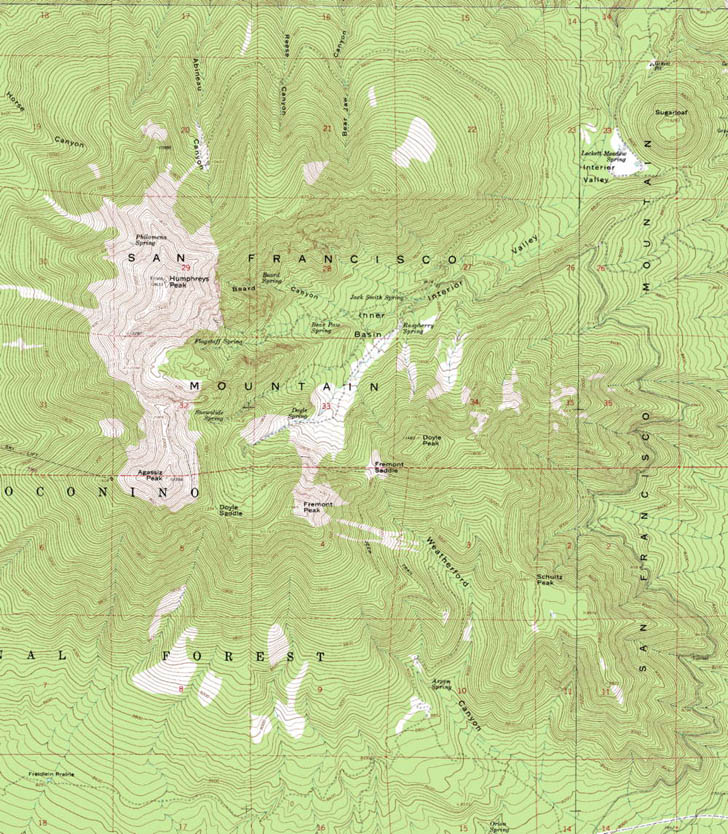
I want to import this map into 3DEM to lay on top of the terrain. To do so, select Operation => Apply/Remove Map Overlay (F4) from the menu. If your DEM is in geographic coordinates (lat/long), the program will ask you if you want to convert it to UTM coordinates to match your map. Since the topographic map I’m using is in UTM coordinates, I said yes, but if your map is in geographic coordinates, say no. The following window will appear:
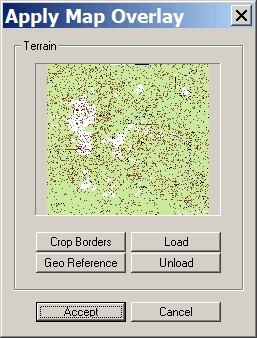
Click on Load to open the map image you want to use (as I already have above). If you’re opening a non-georeferenced image, like a plain TIF or JPG or BMP, you’ll have to georeference it manually by clicking on the “Geo Reference” button and entering known coordinates for locations in the image. If the image is a GeoTiff, with coordinate information already embedded in it, 3DEM will handle the job of aligning the map properly with the underlying DEM. Tip: If you have a world file for the JPG/BMP/TIF, you can open it in the TatukGIS Viewer, and then save it as a GeoTiff, saving you the trouble of manually georeferencing it. Either way, once the map is ready to go, click on Accept, and the map will both be overlayed on top of the DEM terrain and shaded based on the current lighting settings:
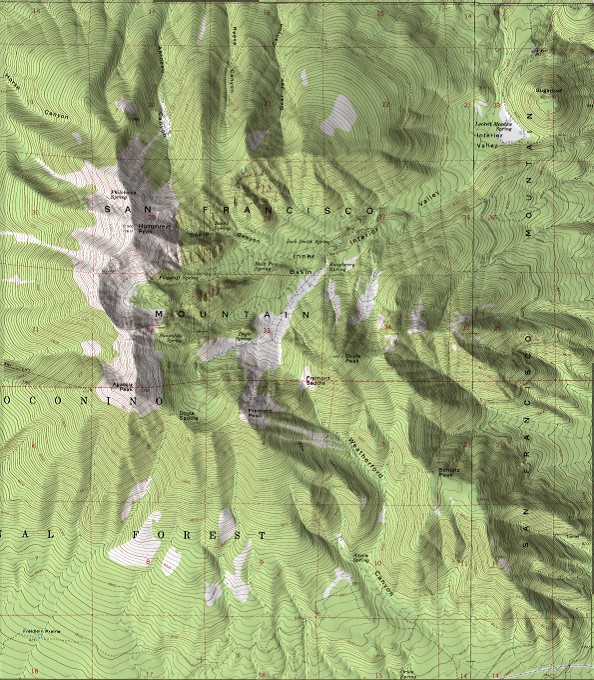
It may not be as good as what you’d get from a professional artist, but for a completely automated process, it’s not bad at all.
The default lighting settings were used to create the shaded relief image above, but you can modify the Lighting Parameters (described in more detail in a previous post) to change the appearance by using the Color Scale => Shaded Relief menu choice:
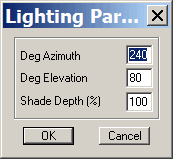
If you save the image as is, it will be saved in the current screen resolution, which is probably lower than that of the original. To save it in a larger, higher-resolution size, choose Operation => Resize Overhead View (F6):
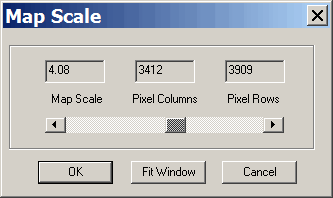
and increase the map scale. If you increase it too much, the map image will disappear completely; just repeat the operation with a smaller scale until it comes back again. Save the image using File => Save Image; if you save it as a GeoTiff, you can open it fully georeferenced in most GIS or mapmaking software.
Great tutorial.
I am having difficulty finding the USGS topo maps on their website. Could you help me out?
Thanks
There’s a tutorial on the USGS website. If that doesn’t work, download the help file for my program Moagu (http://moagu.com), and read the first tutorial for a step-by-step description.
Perfect! I’ve got it working now.