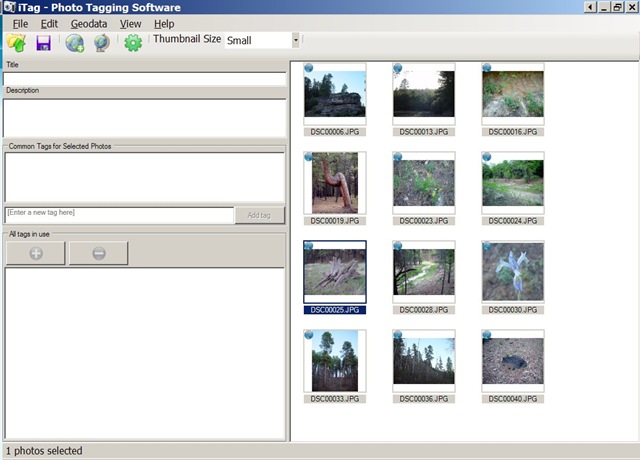
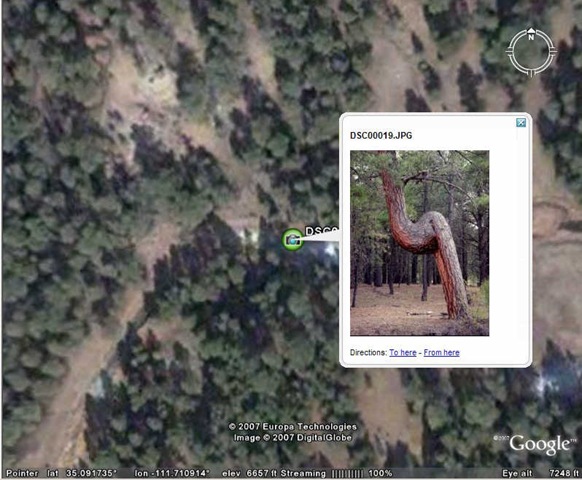
Using Picasa, PicasaWeb or iTag to geotag your photos through Google Earth (or Google Maps) is fine for the occasional photo, or for photos from the past where you don’t have specific location data, i.e. latitude and longitude. But if you’re going to be geotagging a lot of photos in the future, doing it manually will turn into a chore very quickly. There’s a way to simplify that task: Take location data from a GPS unit, and then embed it into your photo’s EXIF header or IPTC tags with software that automates the process. There are a lot of free and cheap programs that let you do that, and I’ll be covering many of the Windows options in upcoming posts. First, though, I want to go over some of the basics of equipment and data.
Equipment: Some day, most cameras may come with GPS capabilities built-in, so that they can automatically geotag your photos as you take them. But I’ve heard of only two cameras with built-in GPS released to date: the Navman iCN750 (discontinued), and the Ricoh Pro G3 GPS Camera, a two-year-old 3-megapixel model. So for now, the only reasonable choice is to use a handheld GPS receiver that can log your position continuously as a function of time, save that data, and then upload it to your computer (typically in GPX format).
Most handheld GPS units can do all of this, with the cheapest units running less than a hundred dollars. If you don’t need a large, handheld GPS receiver with all its features (data screen, input, maps, etc.), another option is to buy a simple GPS datalogger, like the Sony GPSCS1KA or Sony GPS-CS1 units. Both Sony units are described as being specifically designed for digital camera use, but any GPS datalogger capable of saving data in GPX format will work just as well (do a Google search for GPS data logger). You won’t save that much money buying a datalogger instead of a basic handheld GPS unit, but they are often much smaller in size and weight, and can have longer battery lives and store more data than handheld units.
Data: You need to have both position and time data stored by the GPS units in order to geotag the photos,. The position data is obviously needed for the geotagging, but the time data plays a critical part as well. The software programs that I’ll be posting about match up the time you take your photo with the location the GPS data says you were at for that time, and then embed that time-specific location data in the photographs. Dataloggers will normally save both the location and time together automatically, but handheld GPS units may require you to specify that both time and position data be recorded in a GPS tracklog. Handheld units often let you specify whether your position is recorded continuously based on distance, time, or some combination of the two.
There’s another catch: some GPS units (like my Garmin) strip out the time data if you save the track in a separate tracklog, separate from the active track. So if you save a track in these units, make sure you don’t clear out the active track as well, or else you’ll have no way to synchronize your position with the time you took a photo. Found this out rather annoyingly after having taken a whole bunch of photos, saving the track, and then discovering that all the time data was gone. The newer Garmin x-series models let you log time and position data continuously to a GPX file on their microSD memory cards, bypassing the need to manage track data completely (and letting you record literally months worth of position and time data on a single microSD card).
You should also check to make sure that your camera is set to the same time as your GPS unit; if the camera’s time is off, or in a different time zone, that can complicate the process of matching up the GPS track time with the time the photo was taken. Many programs come with the ability to adjust for such a time difference, but it will make life a lot easier if you make sure they’re in time synch right from the start. GPS track times are recorded in UTC (aka Greenwich Mean Time), and while most programs can correct for the difference, some have problems with that correction.
Uploading the data to your computer from your GPS is usually straightforward; if the software that came with your GPS can’t take track data and save it in GPX format, a free program like EasyGPS or GPS TrackMaker does a great job.
Summing up: to automate geotagging your photos with GPS, you’ll need a GPS receiver that can log both your position and time on a continuous basis, and then upload the data to your computer in GPX format, where it can be synchronized with your photos based on time.

