Yesterday, I posted about TritonRMP Maker, a simple program that lets you take any raster map image and convert it into a format compatible with the Magellan Triton series of GPS receivers. Two drawbacks of the program are the requirement that the map be in geographic projection, WGS84, for best results, and its inability to use the embedded georeferencing data in GeoTiffs to automatically calibrate an image. I’ve cobbled together bits and pieces from several other programs I’ve written to create TritonRMP_Helper. This program will:
- Re-project a GeoTiff to the geographic/WGS84 projection if needed
- Extract out calibration data that can be directly copied into TritonRMP Maker
Download the zipped program folder here; it includes needed GDAL files (and also uses the FreeImage library). No installation program included, just run it directly from the folder. Edit 9/14/09: New version available; read the info below for basic info, then visit this post for the updated version.
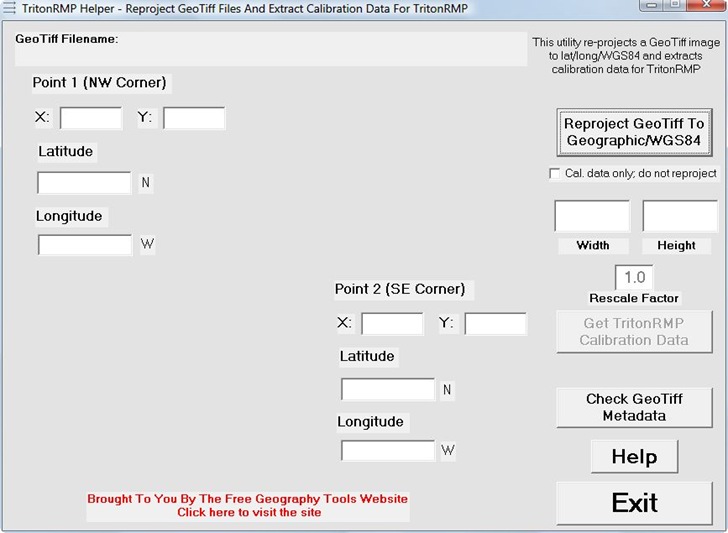
To start out, you might try downloading some USGS topo maps or aerial photos from the USGS Seamless Server site in GeoTiff format, or perhaps some NOAA nautical navigational charts (you’ll need to convert them from BSB to GeoTiff format). These files are usually in some kind of Mercator projection, and have embedded in them necessary data about what kind of projection they’re in; for example, topo maps from the USGS Seamless server are usually in UTM/NAD27, and this metadata is embedded in the file header. Some GeoTiffs don’t include this projection data, but only have image georeferencing data embedded, and can’t be used by this program. If you’re not sure, use the “Check GeoTiff Metadata” button to open the GeoTiff, and view the embedded metadata:
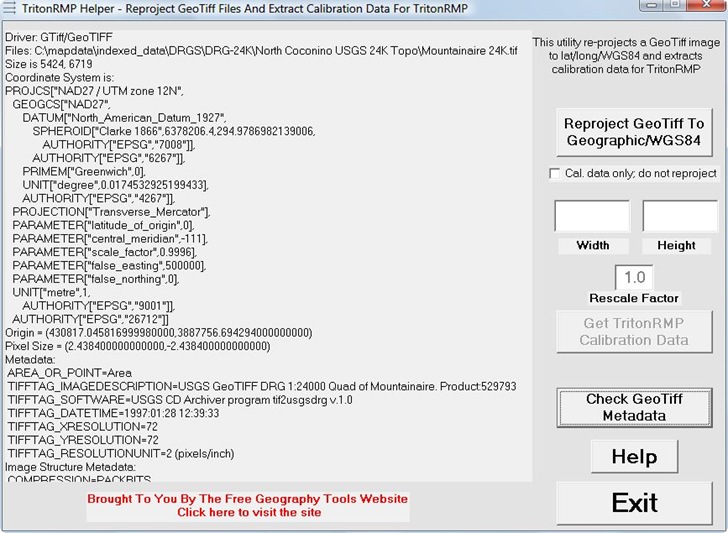
If, as above, there’s a section following “Coordinate System is:”, the GeoTiff likely has the necessary projection metadata embedded (if the Coordinate System data is missing, see below for a way to embed it). Click on the “Reproject GeoTiff To Geographic/WGS84” to use the GDAL library to reproject the image to geographic coordinates; depending on the size of the original image, this can take seconds to minutes.
If your image is already in geographic/WGS84 projection, you can save a little time by checking the box marked “Cal. data only; do not reproject”. This will change the button text to:
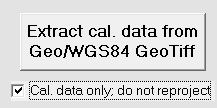
The program will then skip the re-projection process, since the image is already in the optimal projection, and will only extract out the necessary calibration data.
For this example, I’ll take a USGS topo map called “Mountainaire 24K.tif”, in the UTM Zone 12 / NAD27 projection, and let the program re-project it to Geographic/WGS84. A command window will open up to run the GDALWarp commands, and when the process is done, you’ll get a pop-up message to that effect. The program window looks like this:
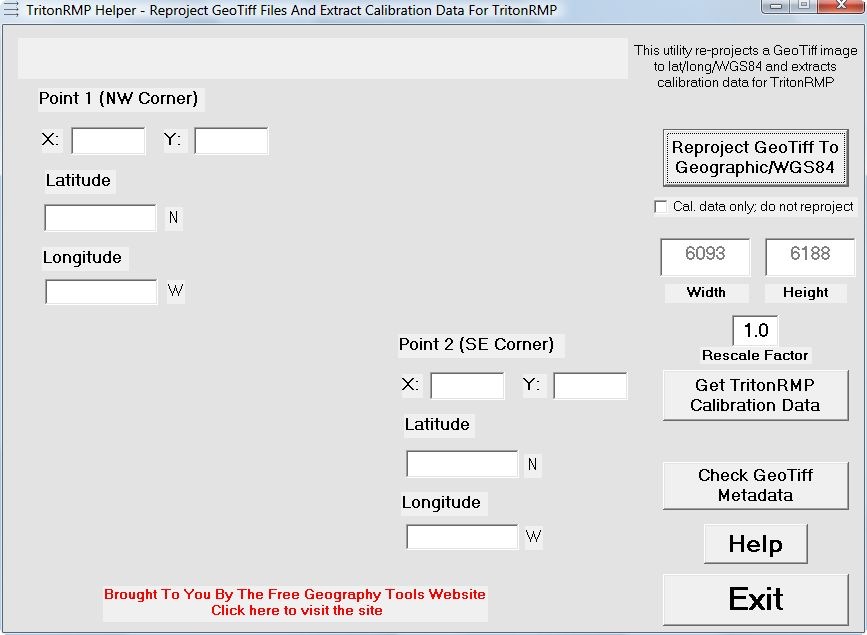
The width and the height of the image will show up in the marked boxes. To get the calibration data you need for TritonRMP Maker, click the “Get TritonRMP Calibration Data” button:
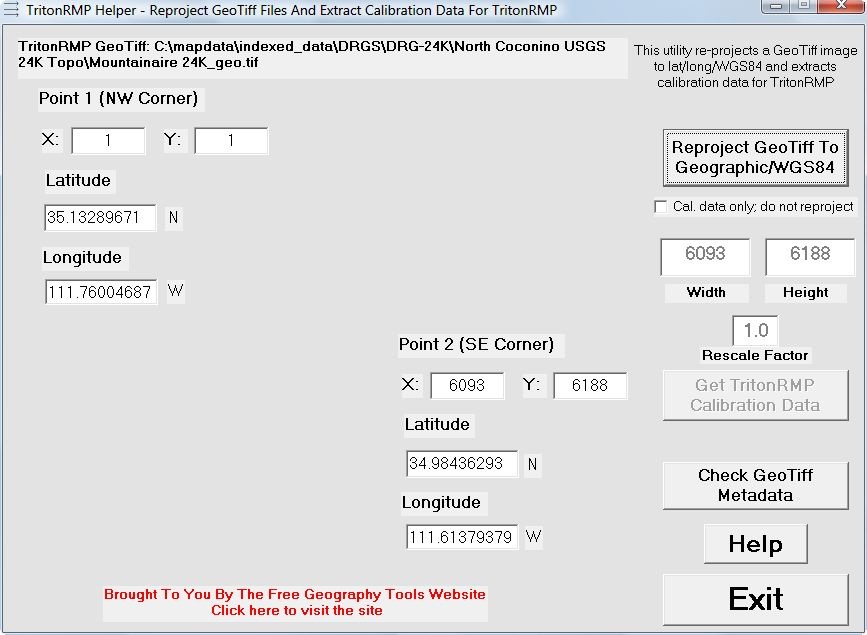
At the top is the name of the image you’ll need to load into Triton_RMP Maker. For re-projected images, “_geo” will be appended to the original image filename, while for images already in the geographic projection, the original filename will be used. Load this image into TritonRMP, then do the following to use the above info to calibrate the loaded image:
Click on the tab marked “1” with the red bullseye in the right part of the TritonRMP Maker screen:
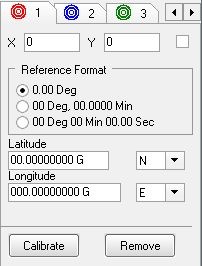
Double-click anywhere in the image pane to put the calibration icon on the map:
![]()
Now copy the Point 1 data (NW corner) from TritonRMP_Helper into the matching boxes in TritonRMP Maker. Just clicking on the TritonRMP_Helper data box copies it into the clipboard, no need to drag and select; you can then double-click on the corresponding box in TritonRMP Maker and use Ctrl-V to paste the data in:
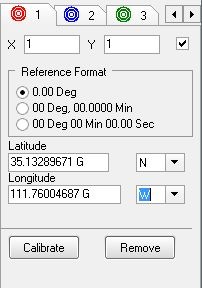
Be sure to set the longitude to the correct E/W value; the default is E, and I’ve forgotten to change that to W (negative longitude) many times. Once you’ve copied the NW data over, click on the 2 tab with the blue icon, and repeat the process for the Point 2 (SE corner) data:
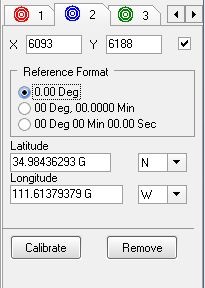
Now just click the “Calibrate” button, and you’re done with this image. You can now either create a Triton RMP raster map file from this single image, or repeat the process with added images for different zoom levels.
Complications and additional features:
1. The FreeImage library has problems loading in images with more than about 100 million pixels or so (roughly 10,000 by 10,000). If it can’t automatically determine the image dimensions, the program will let you know. You’ll then have to find the dimensions of the reprojected image manually; on some systems it will show in the pop-up that appears when the cursor is placed on top of the file, while on other systems you’ll have to right-click on the filename and choose Properties. Enter these dimensions in the Width and Height boxes in the program, then click the “Get TritonRMP Calibration Data” to get the data you need for TritonRMP Maker.
2. You may have noticed a box labeled “Rescale Factor” in the program. At the image’s original geographic resolution, TritonRMP Maker will automatically scale it to show up at only certain zoom levels. For example, a 1:24K USGS topo map will first appear at the 240-meter zoom level, and will disappear at the 60-meter zoom level. If you want to have the topo show up at lower zoom levels like 400 meters, 800 meters or 1.2 km, you’ll need to rescale the image so that each pixel has a larger geographic size,; you can do that with the “Rescale Factor”. For example, if I specified a rescale factor of 2.0, the image would be resized so that its dimensions were half that of the original, and the calibration numbers adjusted accordingly; the new resized image would be saved with the rescale factor appended to the filename, “mountainaire_geo_2.0.tif” for the above example.
I’ve found that a rescale factor of about 4 works best for me, but feel free to experiment; if you want add two additional sets of zoom levels, use 4 and 16 for rescale factors, and so on. When creating the raster RMP map file for the Triton, it’s probably most convenient to load the original image and its calibration data, and also the rescaled images with their calibration data in the same map file. If the image is too big for FreeImage to handle, you won’t have this option directly, but you can handle these images in another program (see below).
3. Want to modify the map contrast, or draw some features in manually using a graphics editor? You can do that to the re-projected image before you load it into TritonRMP Maker, as long as you don’t crop or resize the image.
4. Have a map image in non-GeoTiff format with a worldfile? Or a GeoTiff with georeferencing data but no embedded coordinate system metadata? See this post on how you can convert it into a GeoTiff using the freeware GIS MicroDEM. You can also use MicroDEM to rescale images too large for FreeImage to handle; load in the image, zoom to the 1:1 scale, then zoom out by the desired rescale factor and save the image as a GeoTiff.
5. If you have a map image that isn’t in TritonRMP Maker’s preferred geographic projection, and isn’t calibrated, check this blog next week or the week after – I should have a list of free programs that can georeference/register a map image for use with TritonRMP Maker.