For general map relief shading, my first choice is usually 3DEM, since it usually gives the best results. But MicroDEM also does a decent job at terrain relief shading, and has a few other shading options that 3DEM lacks.
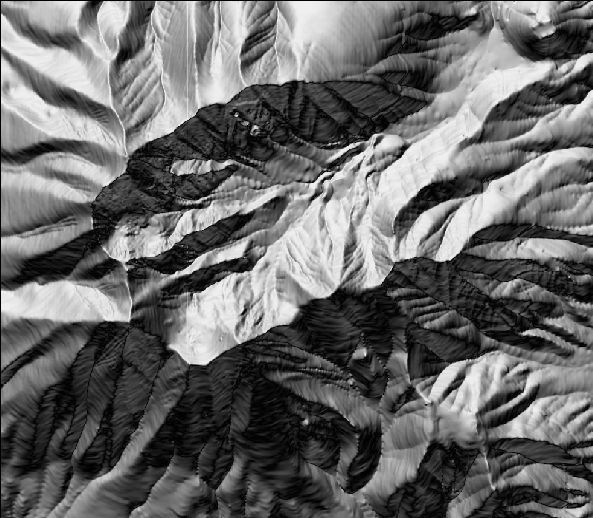
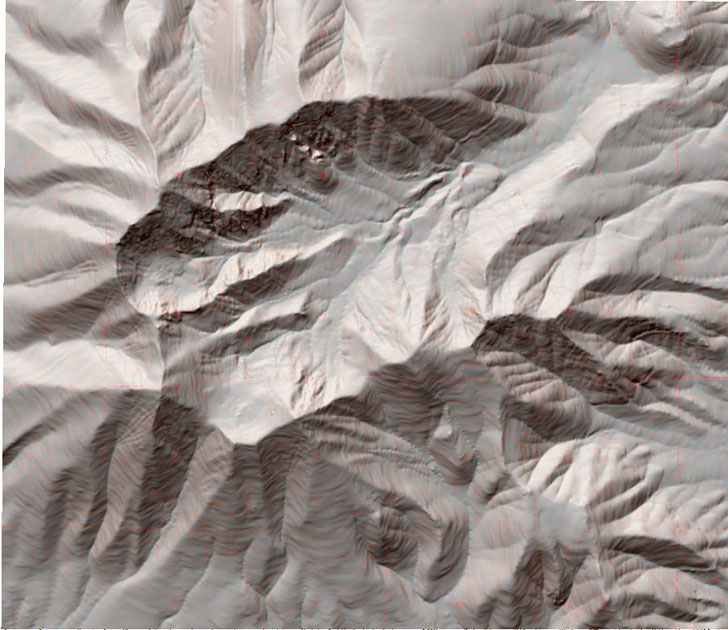
Here’s my favorite sample DEM again, loaded into MicroDEM in reflectance mode:
And here’s a section of a USGS topo map opened in MicroDEM at the same time, that covers the same area. I’ve processed it in a different program to remove the normal green shading:
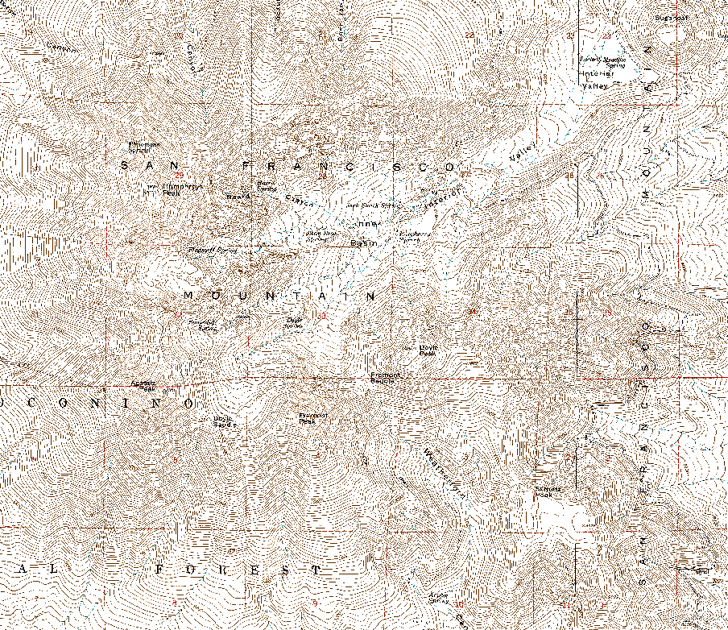
Since the DEM covers the same area as the map, I can use the elevation data from the DEM to color the map in several different ways. By right-clicking on the topo map and choosing “Map shading options”, the following window comes up:
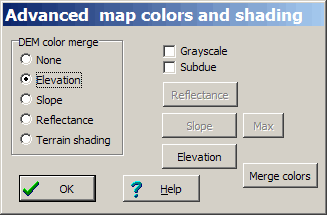
Under DEM color merge are five options:
- None – Removes any applied map colors and shading that might have been applied earlier.
- Elevation – Shades the map in colors based on elevation.
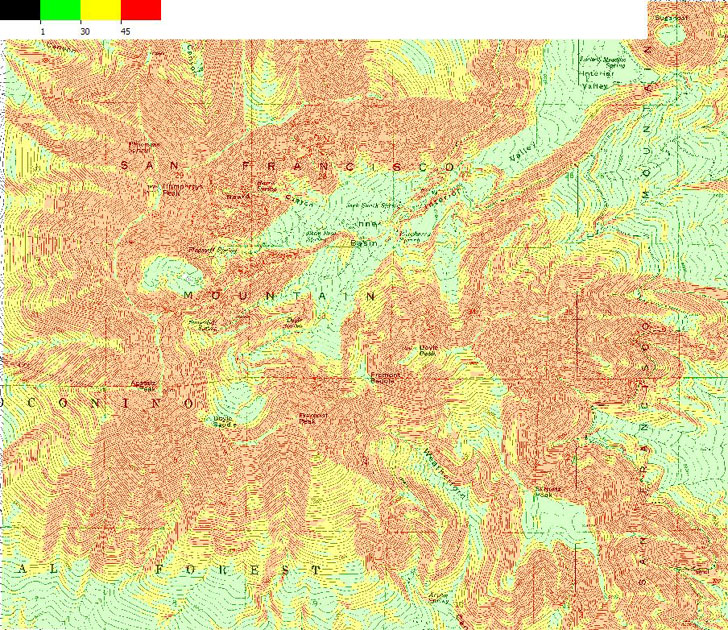
- Slope – Shades the map in slope based on elevation.
- Reflectance – Shades the map based on the reflectance
- Terrain shading – Shades the map based on terrain
The other checkboxes and buttons set different options and settings, and are enabled and disabled depending on their relevance. “Merge colors”, for example, lets you set the intensity, hue and saturation of the colors to be merged with the main map.
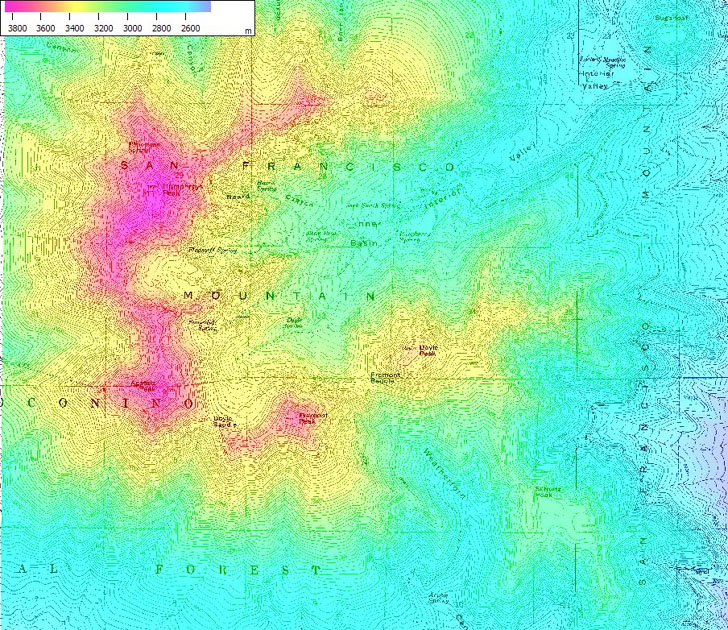
Here’s the topo map merged with elevation colors:
With slope:
With reflectance (doesn’t work very well in this case):
And with terrain shading:
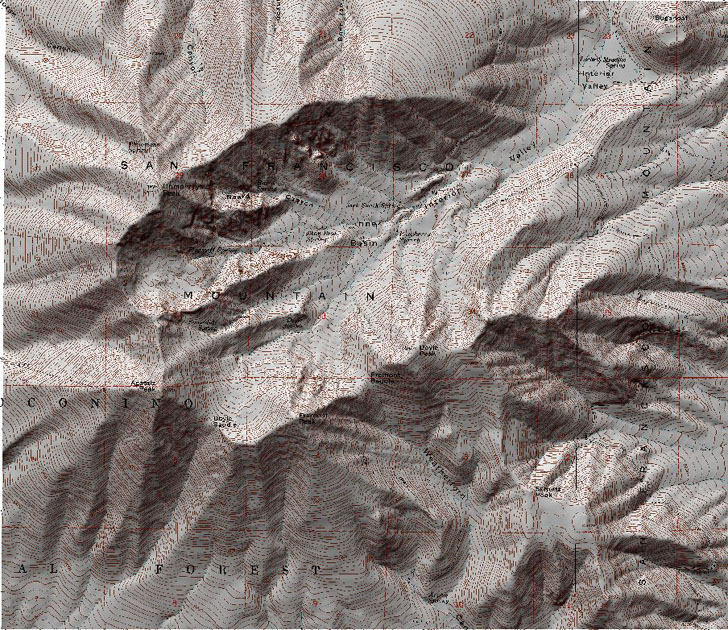
In the case of the last two, if you want to do terrain-based map shading, you’re probably better off using 3DEM, but MicroDEM creates its own unique shadings that you might like better.
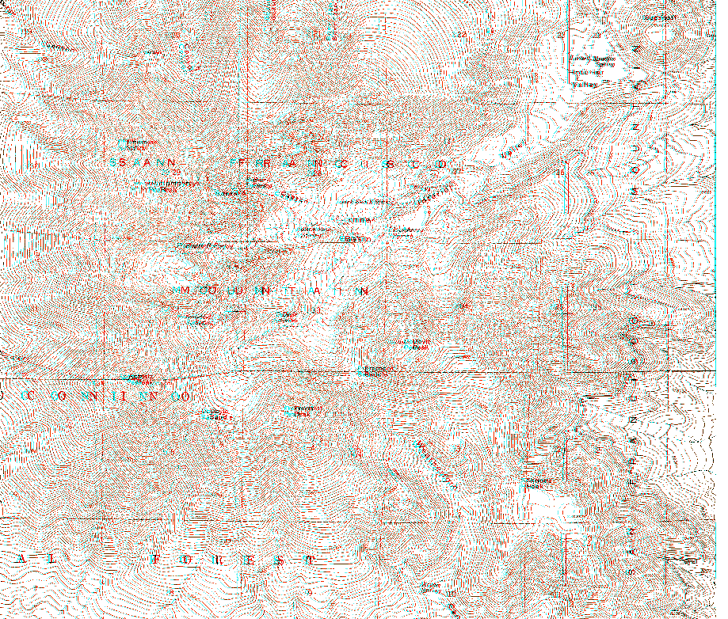
Finally, you can create a red-blue stereo anaglyph version of the topo map for 3D viewing. First, remove any applied coloring or shading from the original topo map with the “None” option. Then right-click on the map and choose “3D Map Options”:
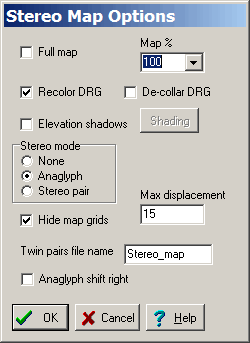
Make sure “Anaglyph” is selected, and choose a pixel displacement; 15 is a good starting point, and increasing this value increases the relief exaggeration. For a standard USGS topo, leave “Recolor DRG” checked . as it modifies some colors to make them work better in a red/blue anaglyph. Click OK to get the following (put on your red/blue 3D glasses):
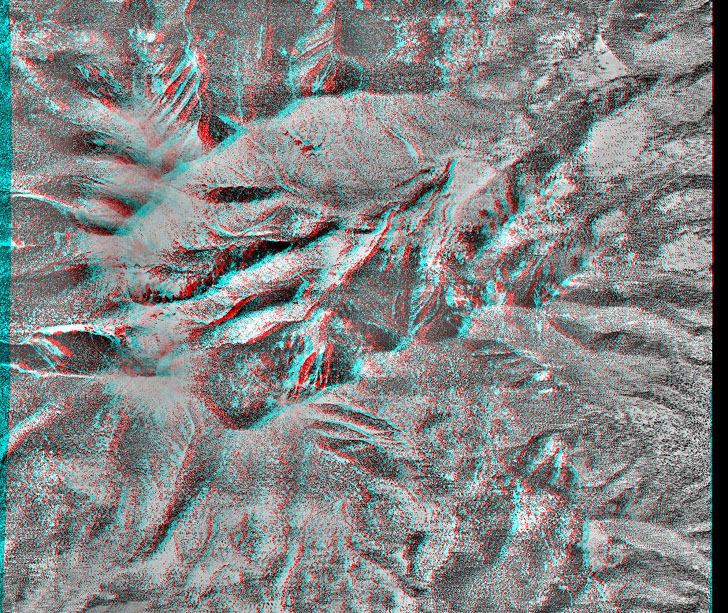
You can create the same 3D anaglyph effect on a photo as well (works best on black-and white):
To remove the 3D effect in the program, select “None” for the “Stereo mode” in the Stereo Map Options window; click on the Help button for an explanation of all the functions.