There’s one last feature in 3DEM I want to talk about: the ability to create animated fly-bys over terrain, with or without an image overlay. Doing a comparable animation with Google Earth requires either the expensive Pro version, or a copy of FRAPS for $37. While 3DEM’s animations aren’t as fancy as the ones you can get with Google Earth, they’re pretty good.
Load a DEM, and an image overlay if you want, into 3DEM (see these previous posts for details on how to do this). You then need to define the path for your flyby. You can do this three ways:
- You can do a “free flight”, where you control the view in real-time using the arrow keys to fly left, right, up and down. Unless you have a very fast computer, though, the frame rate will be pretty slow. When you’re done with the live flyby, you can recreate it and save it as an AVI file using the Operation => Animate Flyby menu option, and selecting “Free Flight” as the “Flyby Type”.
- You can upload a GPS track, and have the flyby follow that track and create an AVI movie; select “GPS Points” for the “Flyby Type”.
- You can create a track using the GPS => Enter GPS Points By Mouse option, and then create a movie for a flight that follows that track.
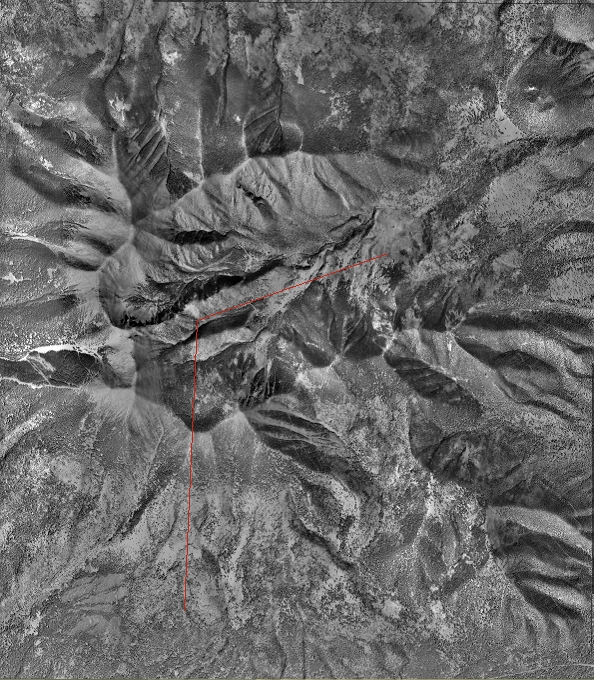
Here’s an example of a terrain with an aerial photo overlay; I’ve created a 3-point track with the mouse for the flyby movie:

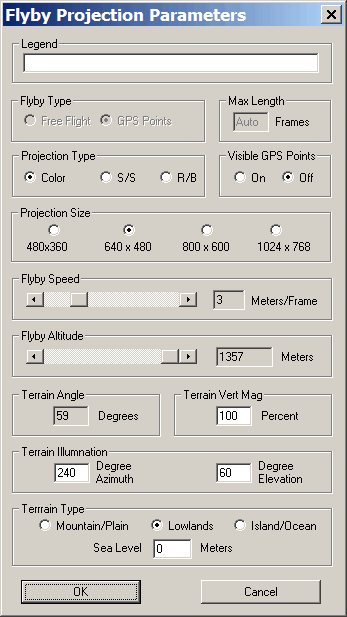
Selecting Operation => Animate Flyby gives me the Flyby Projection Parameters window:

Since I haven’t done a Free Flight, that option is ghosted out, and GPS points is selected automatically. You can do a full-color projection, side-by-side stereographic view (S/S), or a 3D red/blue anaglyph animation (R/B). Other adjustable parameters include the frame size in pixels, whether you can see the GPS points you’ve entered or not, flyby speed in meters per frame (multiply by 30 to get meters per second), altitude, terrain exaggeration, and illumination angle (the viewing angle, aka the “terrain angle” is not adjustable, but varies depending on the altitude). Click on OK, enter the name for the AVI movie file and the desired save location, then be prepared to sit and wait if the distance to be covered is long, or the flyby speed is low, it may take a while to create the movie.
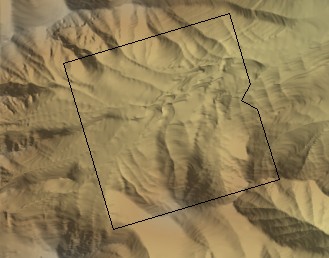
The area covered by the viewing window depends on the size of the notched black square frame in the original screen:

To set a different size, click on a square corner and drag to increase/decrease the size before starting the animation process.
Here’s the flyby created in 3DEM from the track above, a short flyby of the San Francisco Peaks in Arizona: