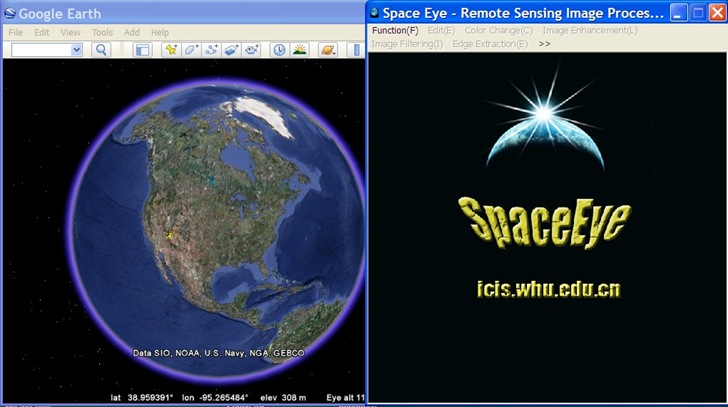
SpaceEye (direct download link) runs simultaneously with Google Earth, and lets you perform simple image processing functions on the imagery visible in the Google Earth window. After installing and running the program, it first starts up Google Earth in a partial screen window, then starts itself up either side by side with Google Earth, or overlapping it as in this case:

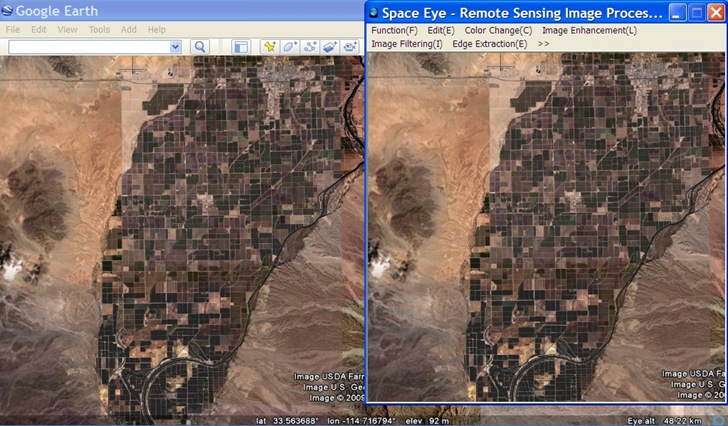
Any overlays like roads, boundaries or placemarks will show up in the SpaceEye window as well, so you should turn all the overlays off except for Terrain.SpaceEye will display only the satellite imagery visible in the Google Earth screen; to maximize this area, it’s best to turn off the Sidebar (View menu, uncheck Sidebar). Once you’ve zoomed in to the Google Earth area you’re interested in, select Function =>Activate in SpaceEye, and the area shown in Google Earth will appear in SpaceEye as well:

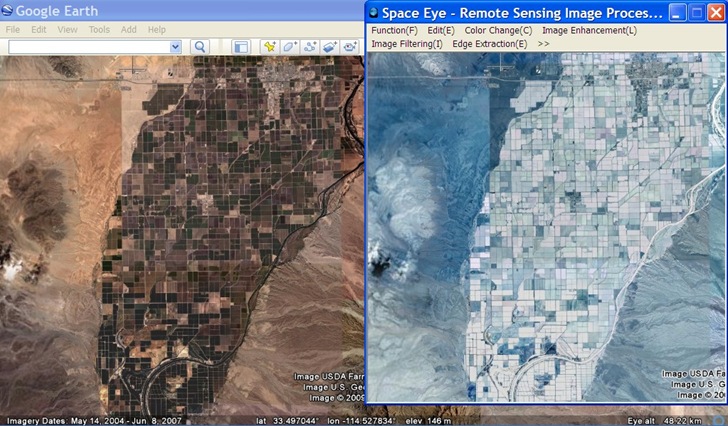
If you change the view in Google Earth, that change will be mirrored in SpaceEye, unless you lock the image (Function => Lock). With an active or locked image visible in SpaceEye, you can perform simple image processing like Image Invert:

Histogram equalization:

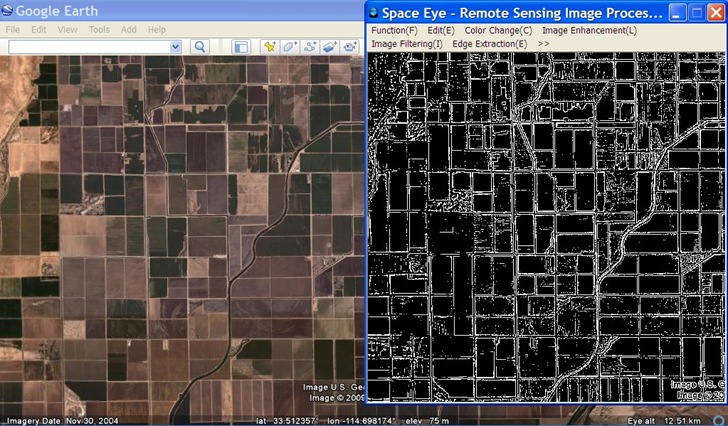
Edge extraction:

And segmentation:

Other functions include filtering, channel extraction (HSV), and morphological transformations (e.g. dialation, erosion). If you move the image in Google Earth, or zoom in and out, and the image isn’t “locked” in Space Eye, the image in SpaceEye will update to match the area in Google Earth, but be processed according to the current function settings. Choose Edit =>Original Image Recovery to restore the unprocessed Google Earth image. You can save the processed image as a JPG or BMP, but the original imagery and any derivatives are subject to Google Earth’s Terms Of Use.
Obviously, SpaceEye doesn’t have the power and capabilities of a full-featured geographic image processing program; for examples of those, see my previous series on free image processing software. But as a simple introduction to the basics, or as an educational tool, it’s worth a look.
Note: Could only get this program to work on Windows XP; on Vista, just got a blank screen. If anyone gets this to work on Vista, please let me know!
Edit: Works on Vista and Windows 7 under Compatibility Mode; right-click on the program icon, choose Properties, click the Compatibility mode tab, and choose Windows XP SP3. Thanks to David Lay for this tip.