Yet another photo geotagging application, TagMyJPGs (aka EXIF Geotagging), this one with some helpful EXIF editing capabilities, and a nice Google Maps interface for geotagging. If you’re running Internet Explorer, the website has a link that lets you install the software automatically; otherwise, download and unzip the program into its own directory, then run the EXIFGeotagging.exe application:
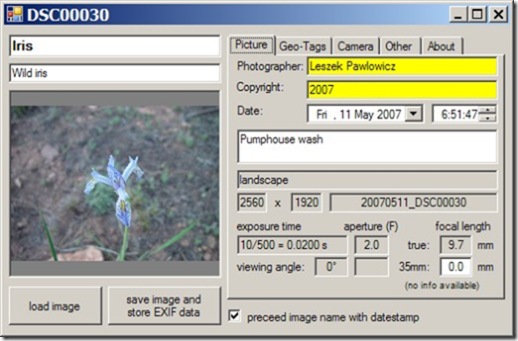
TagMyJPGs lets you view much of the EXIF data embedded in the photo, and you can add/edit EXIF tags like the name, description, photographer, keywords, etc.(but not basic photo info like exposure, aperture, etc.). Tags in white or yellow are usually editable, those in gray not. Click on the Geo-Tags tab, and you can manually enter the coordinates where the photo was taken:
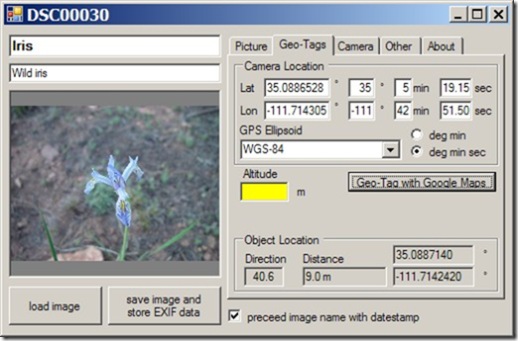
Click on the Geo-Tag with Google Maps button, and a Google Maps interface will open up with a marker indicating the camera position:
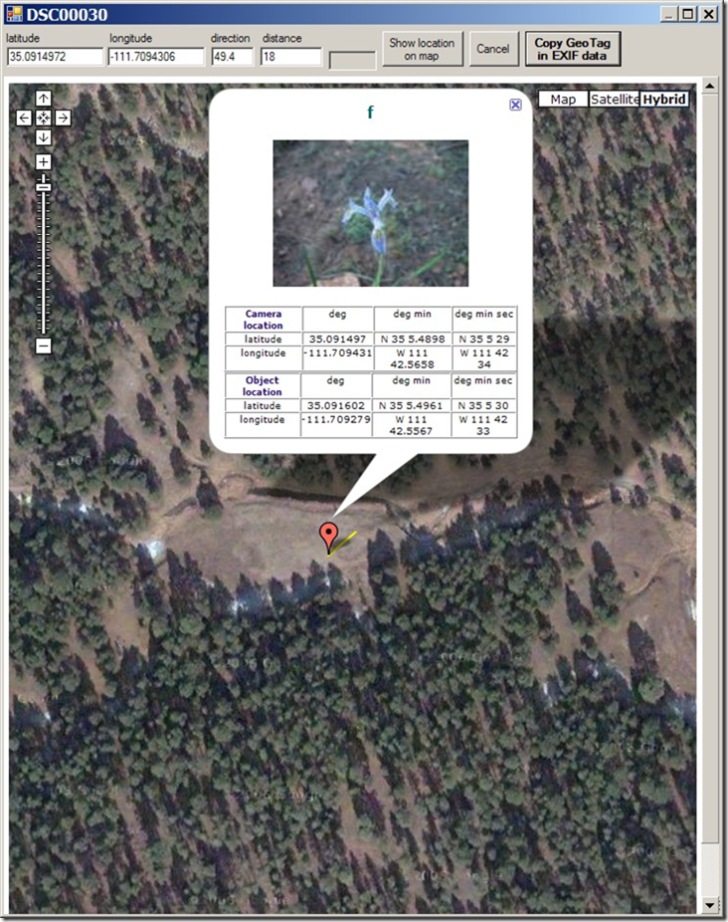
Click and drag the marker on Google Maps until it corresponds to the position of the camera when the photo was taken. You can also click on the object being photographed, and TagMyJPGs will mark the distance between camera and object with a yellow line, and enter the distance and bearing into the boxes at the top. The website claims that it will also draw the camera’s field of view, but I haven’t seen that in the several cases I tried. If the photo was already geotagged, it will be displayed at its geocoded position. Click “Copy Geo-Tag in EXIF Data”, and you’ll return back to the main program with the camera and object locations entered into the appropriate boxes.
If you’re satisfied, press the “save image and store EXIF data” button to write the coordinates and other entered data into the photo’s EXIF header. If the “preceed (sic) image name with datestamp” box is checked, the program will create a new image file with the date as a prefix to the original filename. If it’s not checked, it will overwrite the original with the new version.
The biggest drawback is the inability to geotag photos with a GPS track, but the author indicates on the website that he’s planning to add that feature in the future.


